Not a lot of exciting news, but as the title suggests, I have had to fix stuff again. I enjoy fixing stuff, if something breaks, I love the challenge of fixing it, and throwing it into the bin is a kind of defeat. I usually strip it of useful parts first anyway, to soften the blow. I think I may have taken up this lifestyle of living on a boat so that I had a constant supply of interesting things to fix. This blog will mention just a couple, the sink and the watermaker, however within these tasks, many more problems arose, so I have a full order book of ‘things that need attention’.
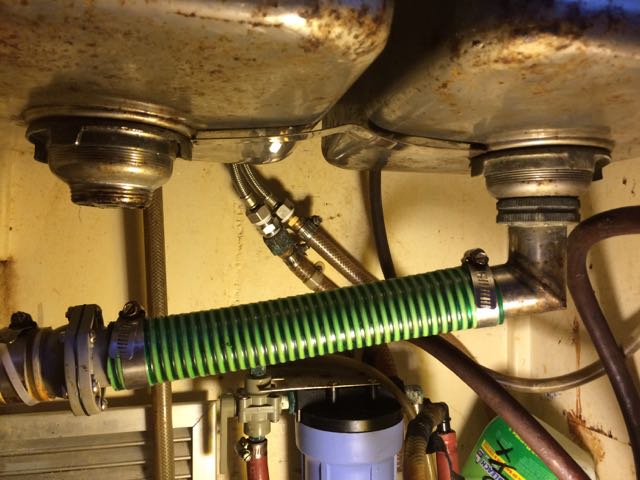
A couple of weeks ago, the galley sinks blocked, we have two sinks and what looks like some very old plumbing below. I hate plumbing, especially sink plumbing, and I knew this would need attention at some point as there was some signs of dripping below the sink and some damp wood. The bit under the galley sink is always a bit of a damp no go area on a boat, but I decided to remove all the fittings under the sink, clear out the blockage and clean everything up and reassemble it so it looked like new.
The first problem was taking the fittings off, they are custom made for this sink and boat, steel pipes welded to get the right angle to join the sinks so the water runs away ok. unscrewing the seized on fitting caused it to break off the sink drainer, closer inspection revealed it was beyond repair.
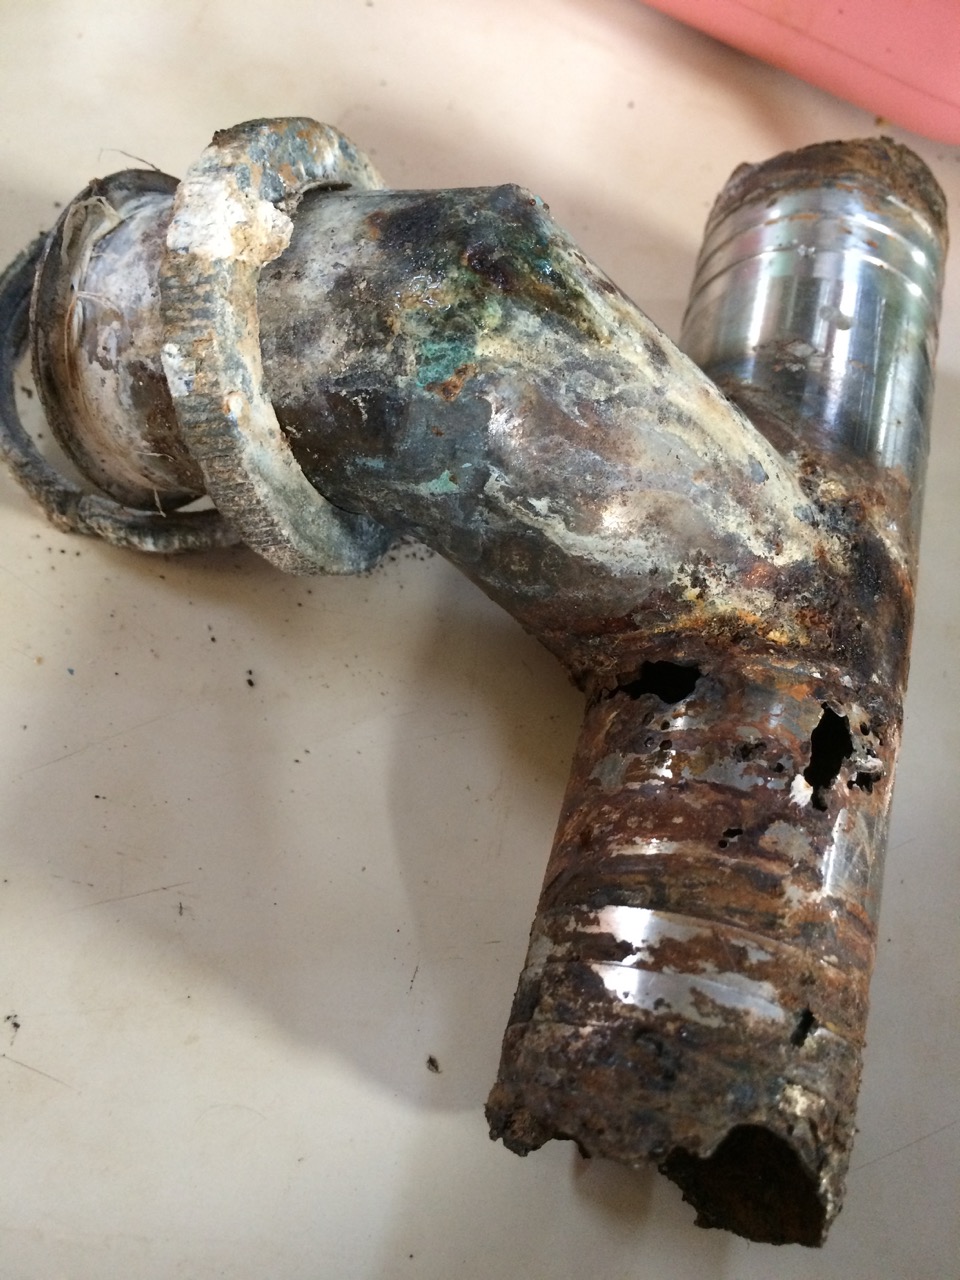
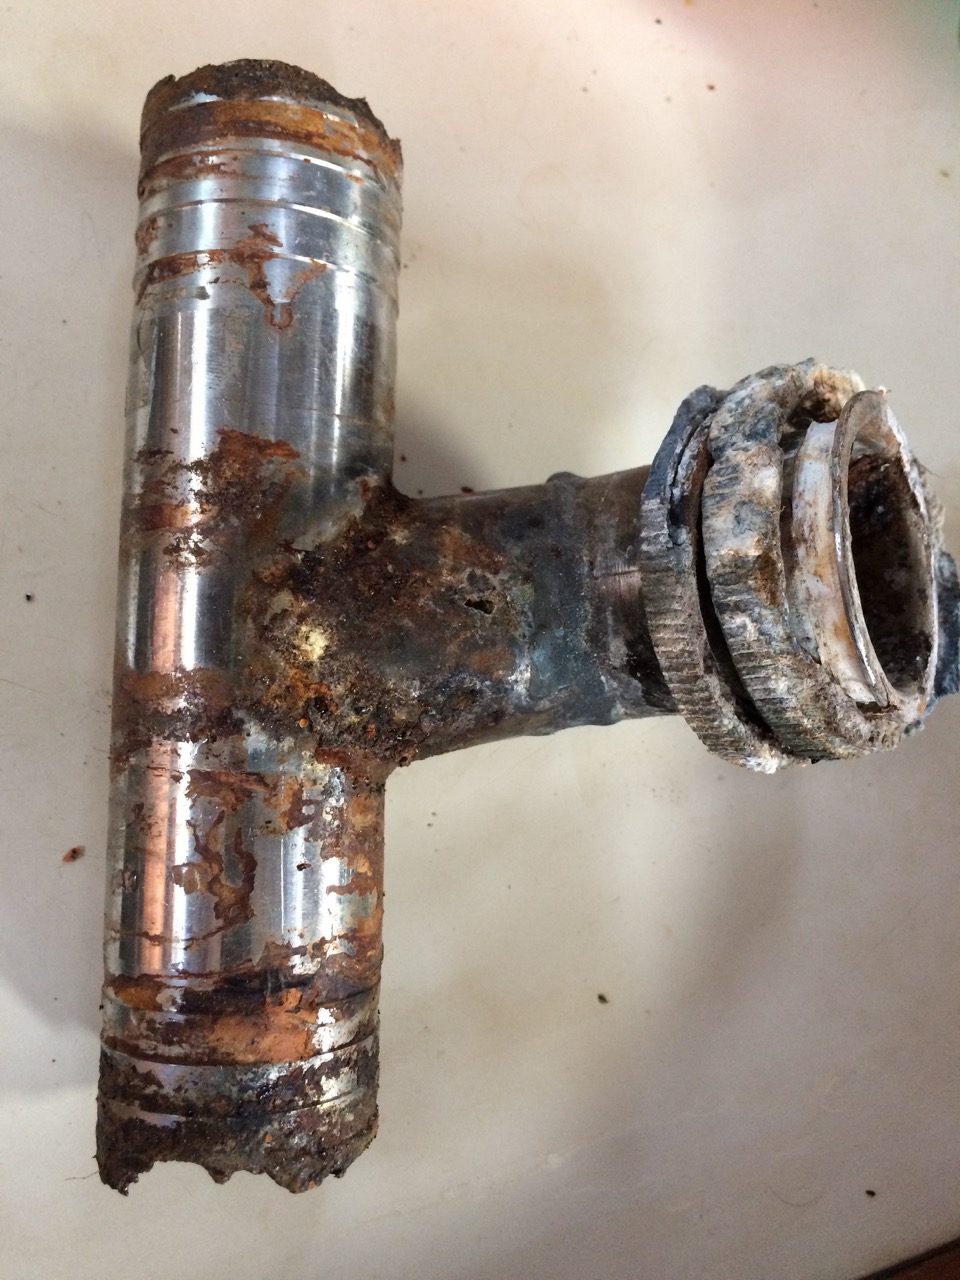 The problem now arose that I doubt I can get anyone to make me this fitting as it needs the special ring that connects to the drain, so I’m faced with replumbing using the local standards. This comprises of PVC pipe, glued together, of a size that won’t connect to my seacock where it all drains out of the boat. A further complication is that I found the seacock/through hull fitting (Tap) that the drain goes through to exit the boat won’t shut off. This limits me to what I can do and I may have to wait for the next haulout to fix it. In the meantime, I have jury rigged one sink to drain ok, with the other sealed off.
I finally worked out a design for the canopy/awning to cover the main cabin. you really need something to keep the heat off the decks of the boat, otherwise it’s like being in a greenhouse. I have given the design to Steven at Kiwi plastics? who is currently making it up for me, it should be ready any day.
I have been up early most mornings painting the boat, well the blue strip down the side, That’s all done now and the varnish is back up to spec. We had to move the boat to the other side of the pontoon so I could finish the work on the port side, so we had a little motor around the marina, it was fun to have the engine running and the boat manoeuvring again. I also tried some diluted oxalic acid on the hull and was astonished how well she came up. I have a bit of touching up to do, but all in all I’m very pleased with her appearance now. 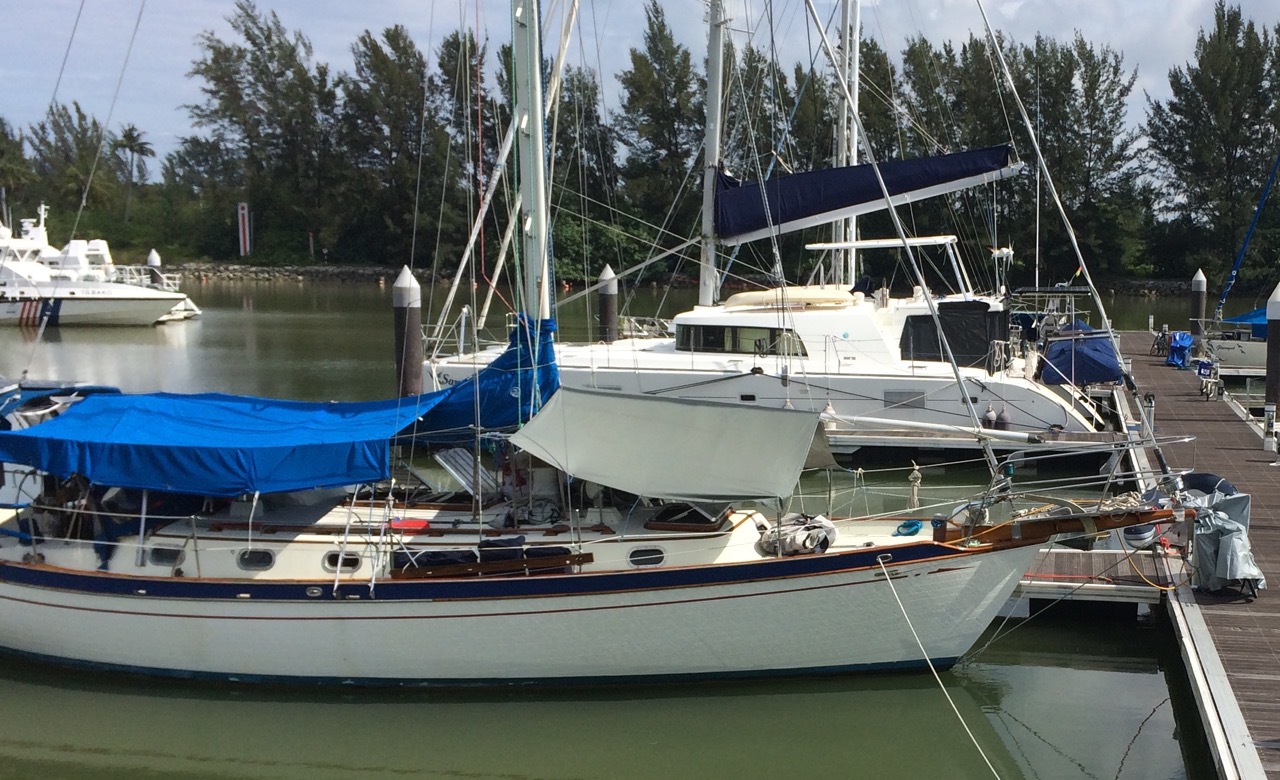
We hired a car for two days, and immediately headed off to do a mega big shop, mostly drinks and other bulky items that don’t go in the bikes baskets too well. Kathy was very keen to check out the christmas decorations in the big stores (Not).

I was amazed to find Irish Cheddar on sale, it looks like real stuff too, I can understand guinness making it to these shores but Cheddar! Especially as we invented the stuff, and we can’t even export it to one of our old colonies. It’s not a good omen for post brexit if you ask me.

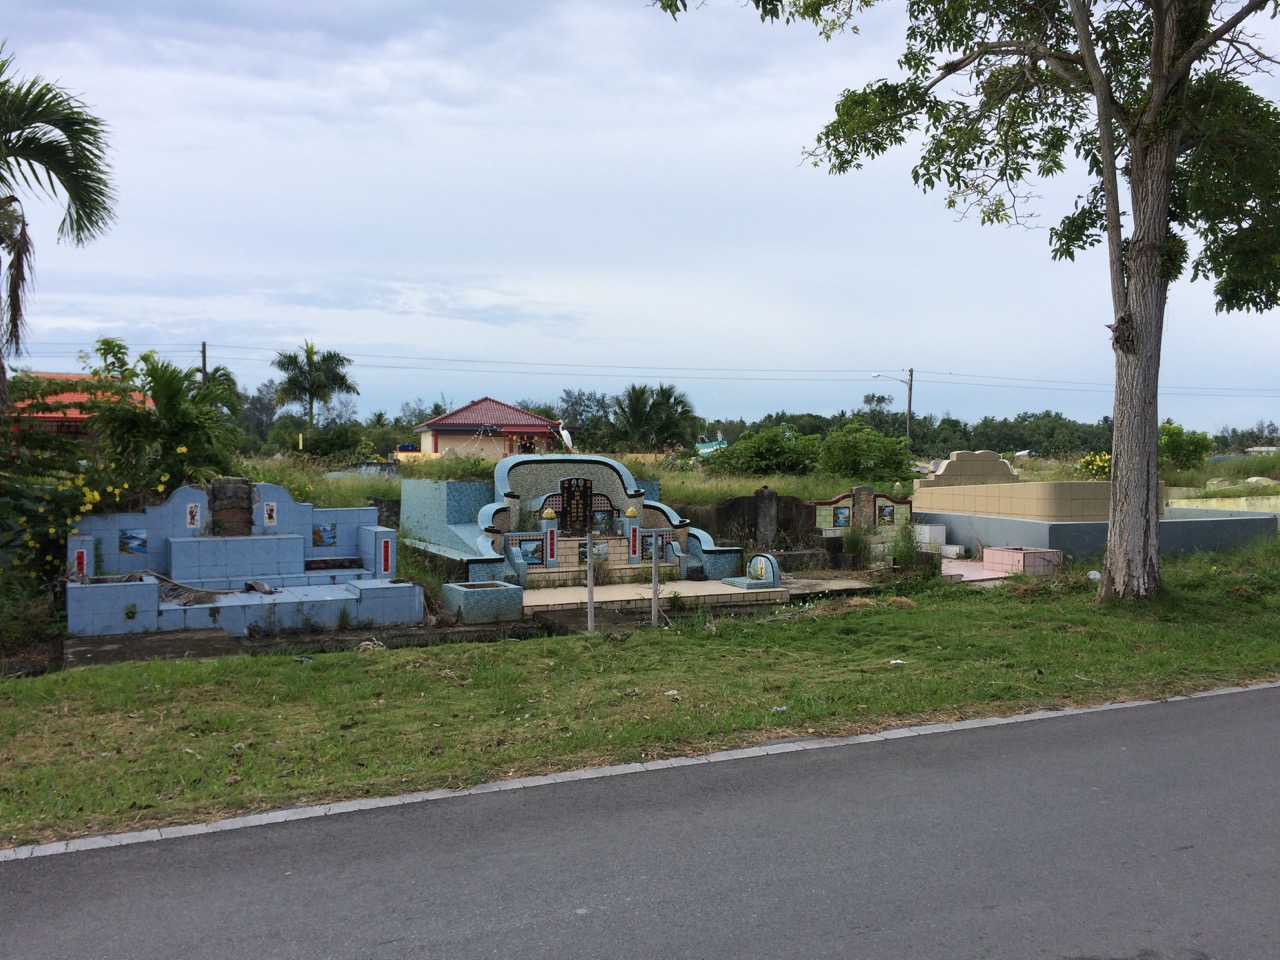
I did a bit of shopping on my own for boaty bits, on the way out of town I was pleasantly surprised to find myself driving through a cemetery, it’s quite surreal, the dual carriageway splits with cemeteries on the left, in between the carriageways and on the right. many neglected but looking very interesting all the same. This happened the morning after the ‘day of the dead’ but the ghosts seemed happy enough.
I tried to buy a liferaft from a local specialist, however he didnt have any, and didnt know much about them either. The entry level to being a professional here can sometimes be quite low.
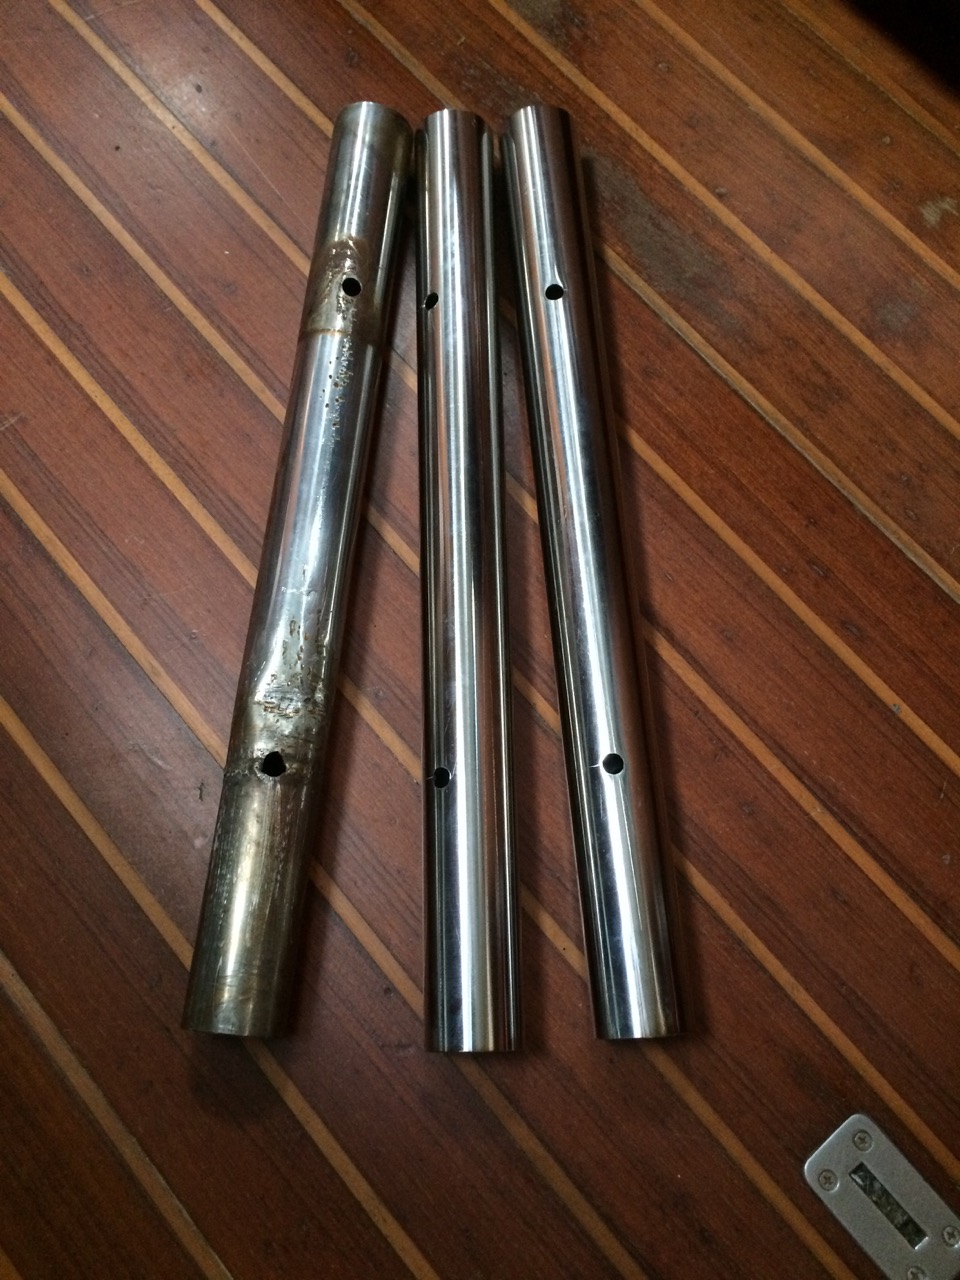
I needed some thin walled stainless tube sections, and found a great little workshop where they copied the one on the left and made me two identical pieces as shown below. This cost me about £7, amazing. These parts might be crucial to our safe passage across the Pacific. The form a linkage in the self steering system. they are made to be quite weak, so that if we hit a log or other submerged object, rather than the self steering rudder breaking, these shafts bend/break. You then pull the rudder out of the water and replace the bent bit with a new one. So now I can hit three logs and be safe.
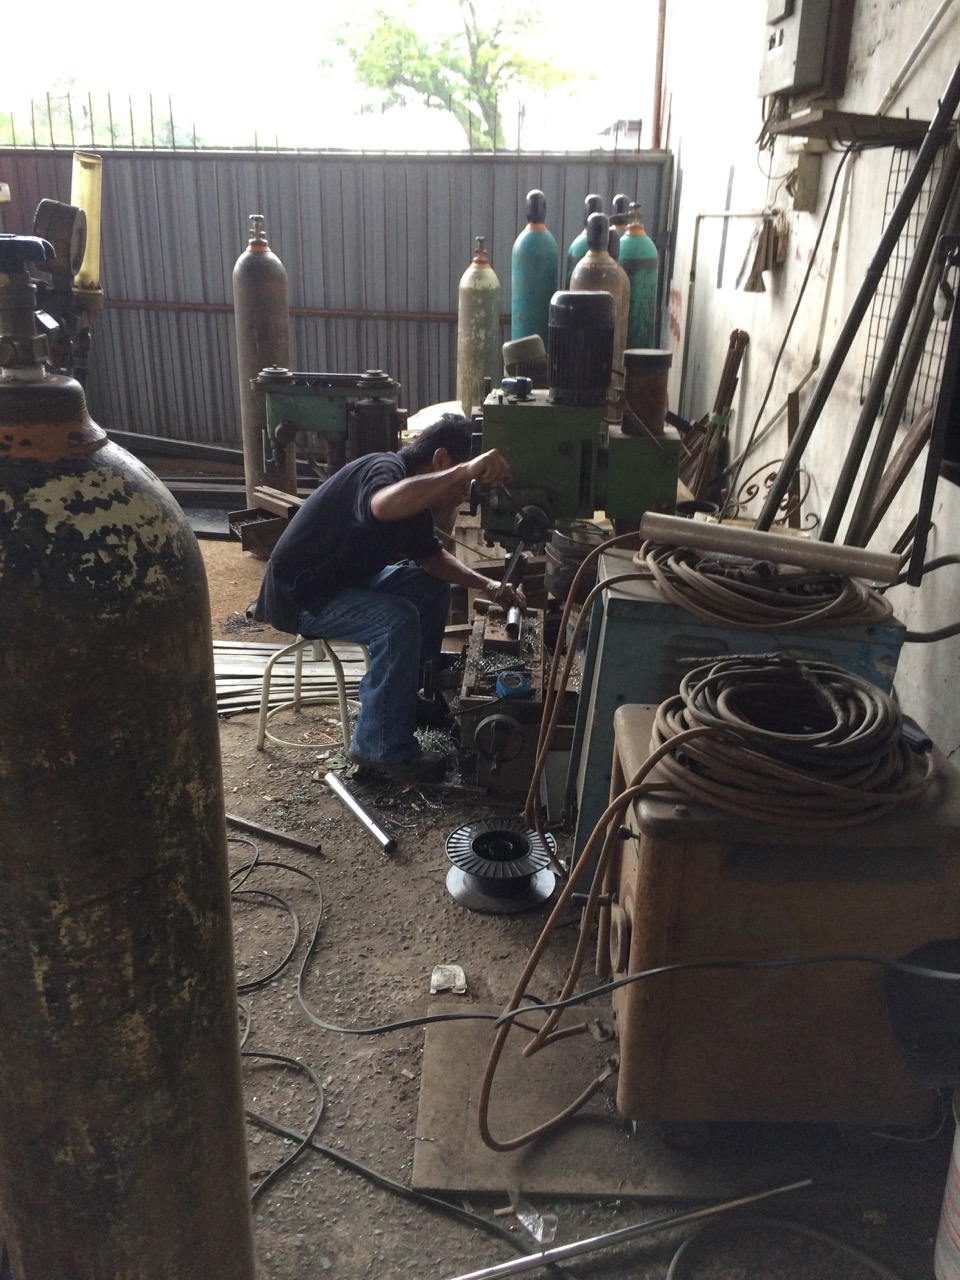
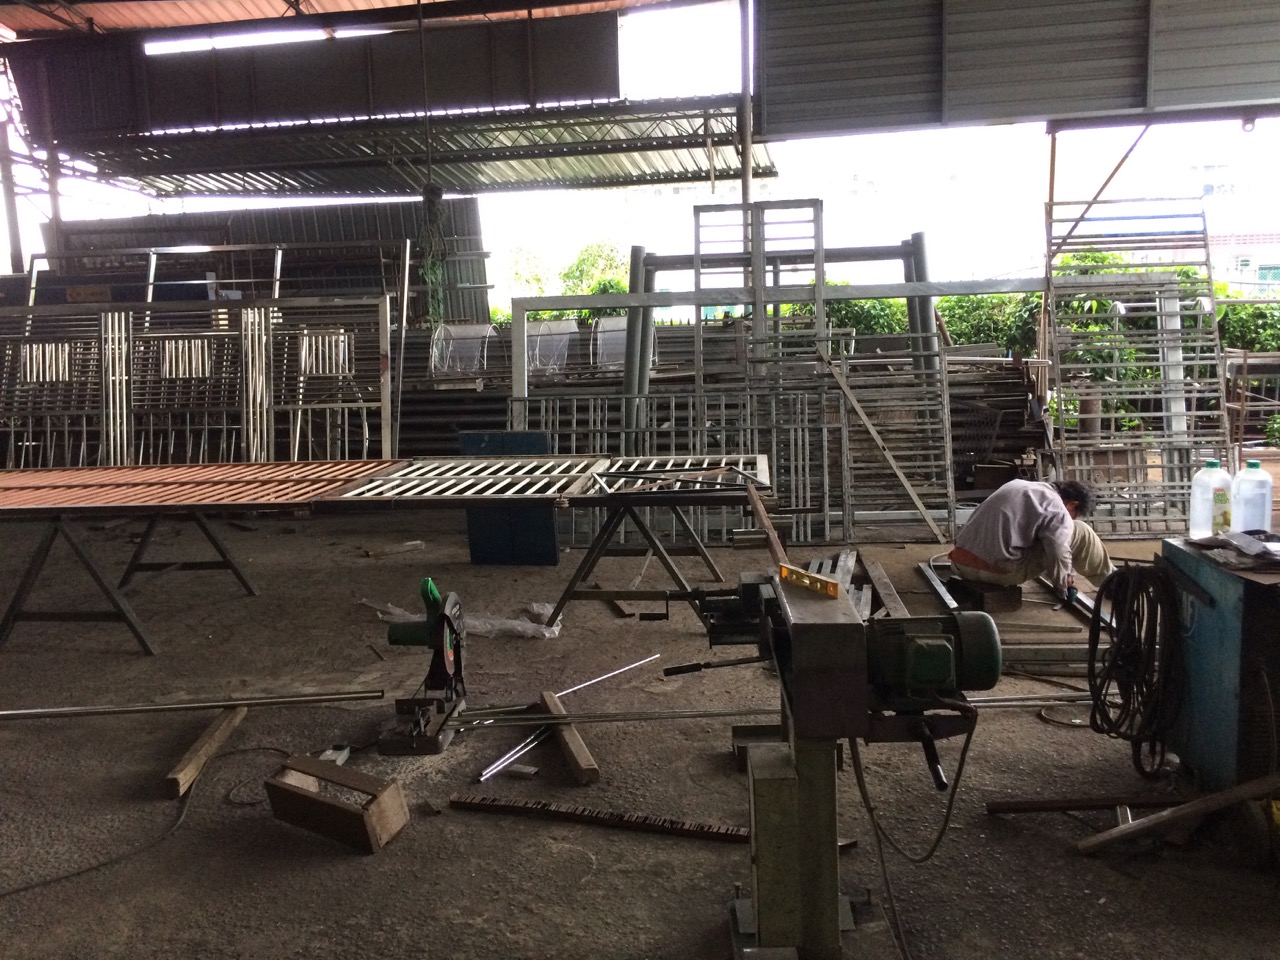

As you can see above, they mostly make fancy gates for the rich here.
The next day we took off to the Niah Caves, they are about a 90 minute drive south of Miri. They are situated in a national park and are full of creepy crawlies that Kathy hates. When we arrived we had to pay Charon a Ringit to ferry us across the Styx and into the park proper. I think the river is really called the Niah and he may not be called Charon 😉 but the river is well populated with crocs, and they can steal your memories away.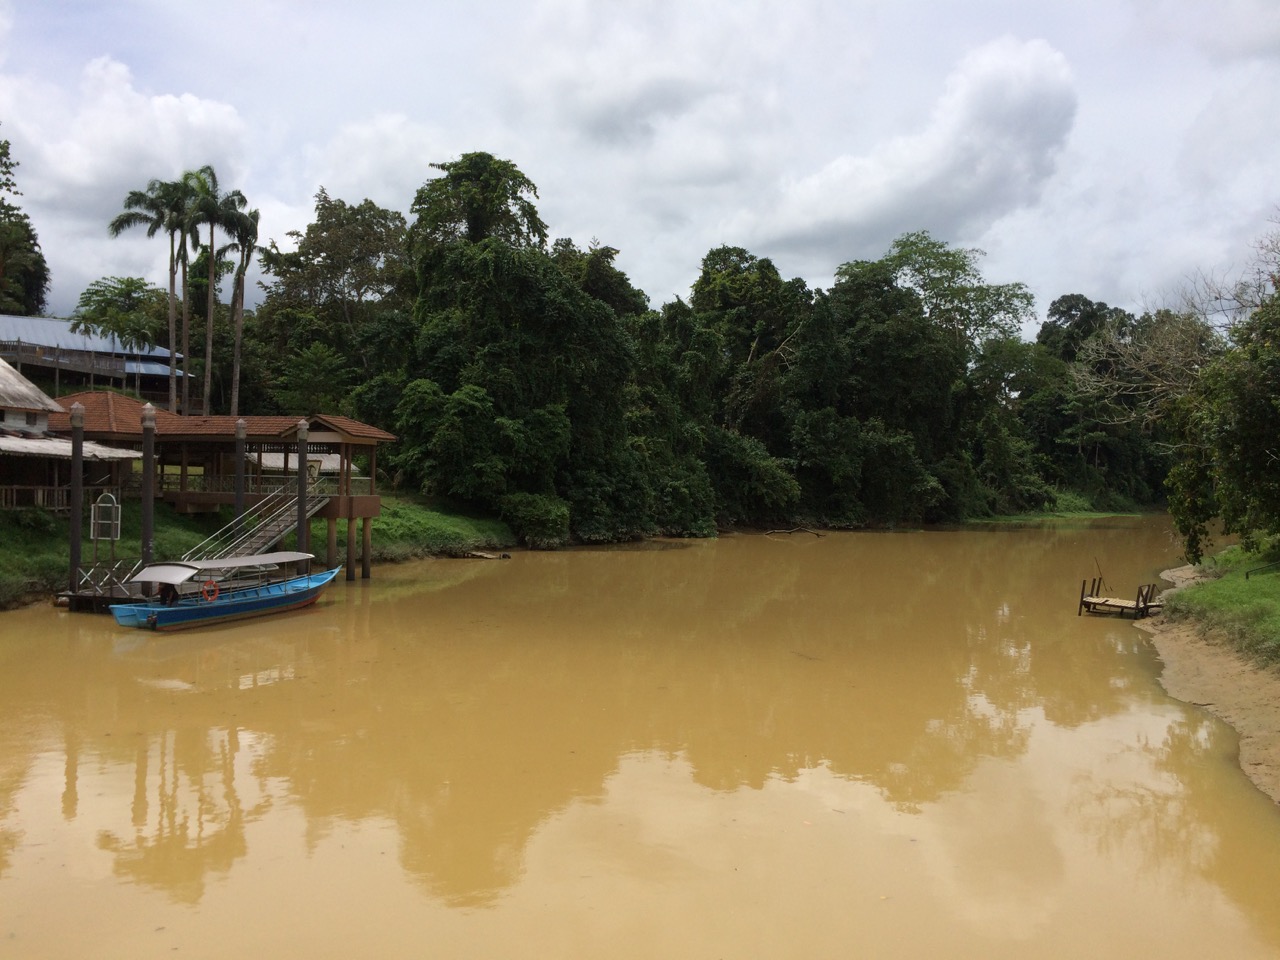

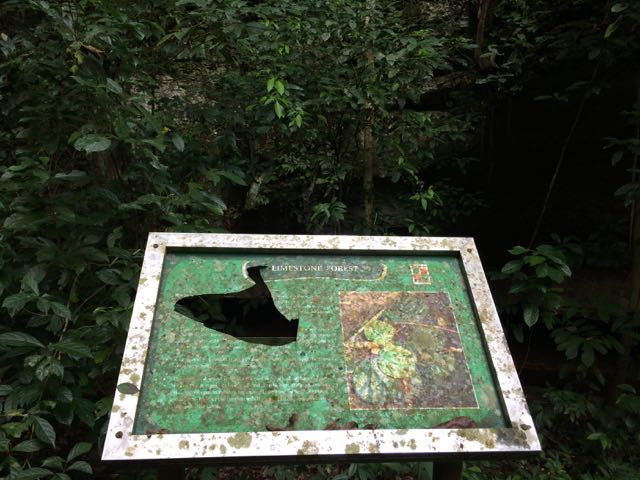
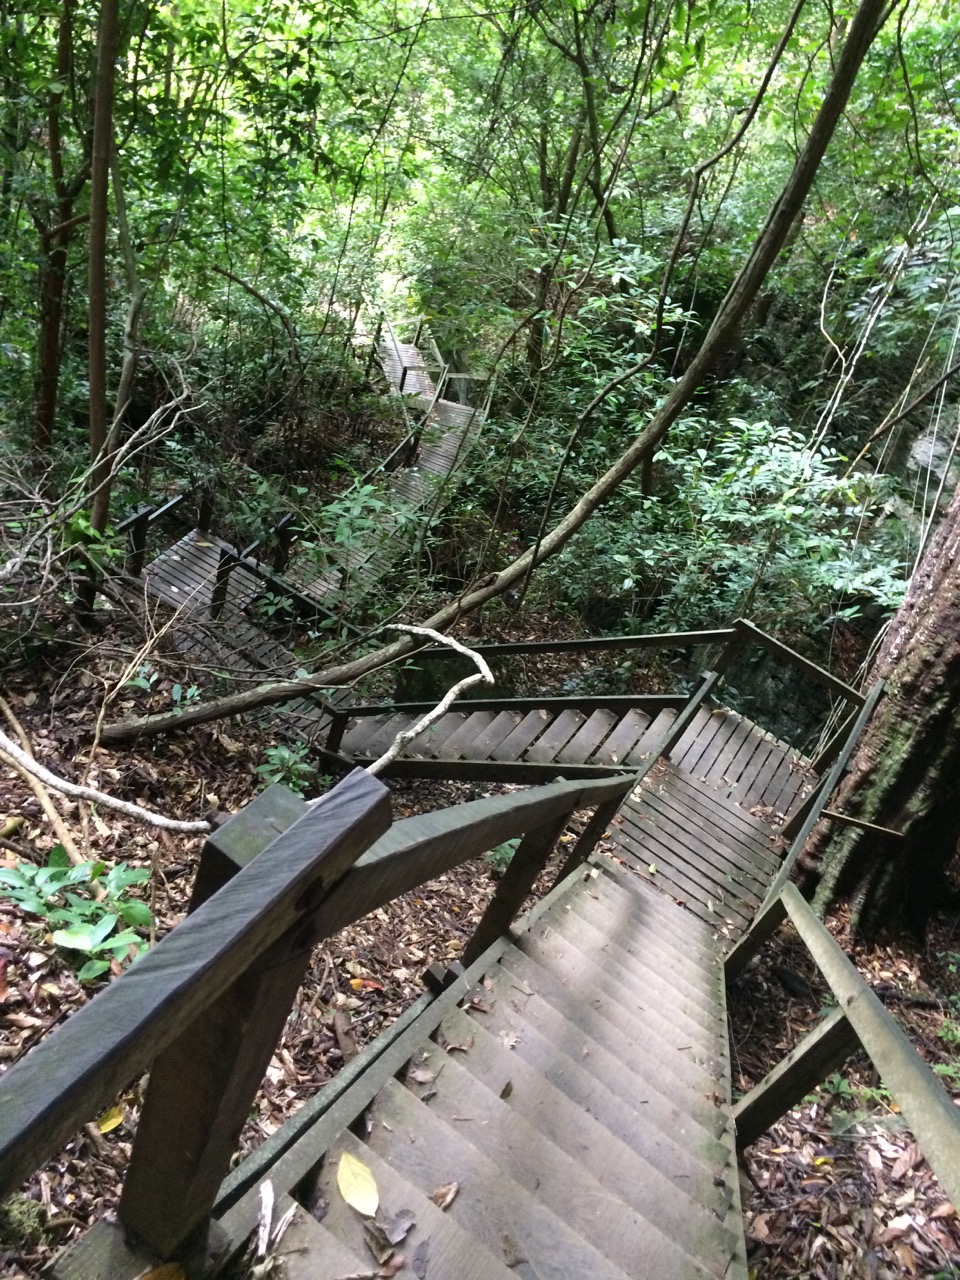
Once over the river, there is a 90 minute walk along boardwalks like below Occasionally there are tourist information signs, but these are often in need of attention
Here Kathy is at the entrance to the first cave, behind her you can see poles hanging from the roof, these are used by a team of men who climb them to gather swiftlets nests for the famous birds’ nest soup.
 Above is a picture of such activity I copied from the museum. After the big cave entrance, we had to walk for 20 minutes through a pitch black cave, using our torches the show us the way. This cave was full of bats, often just above our heads, and there were scorpions on the ground, but I think the one below is just a cricket.
 I enjoyed the cave, but it was quite an arduous walk getting there and back.


I expect Kathy will write about that experience in a lot more detail shortly.
In the shopping mall tonight I spotted a wedding photographer with a stall and noticed he had a picture taken next to our boat, but we were just out of sight. I wonder if he told the bride there are crocodiles here?
Finally, the watermaker saga nears its end.
I promised myself to rebuild the pressure pump and replace all the seals a few weeks ago, but I have been putting it off. Yesterday I finally got down to the job. It took me four hours to dismantle the pump and rebuild it. I dread this type of thing, I’m so used to losing a little spring or some other small but crucial part. Also I love digital stuff, as everything, no matter how complicated it seems, always comes back to something being a ‘one’ or a ‘zero’. with mechanical stuff, things can be in many states, they have curves and things that need to mate up perfectly. High pressure says lots of leaks to me. Anyway I took the pump apart, I had a full set of spare seals / gaskets, poppet valves etc, or so I thought. It went well, but I did damage 2 shaft seals in the process, and guess what, they were the two missing seals from the kit. .
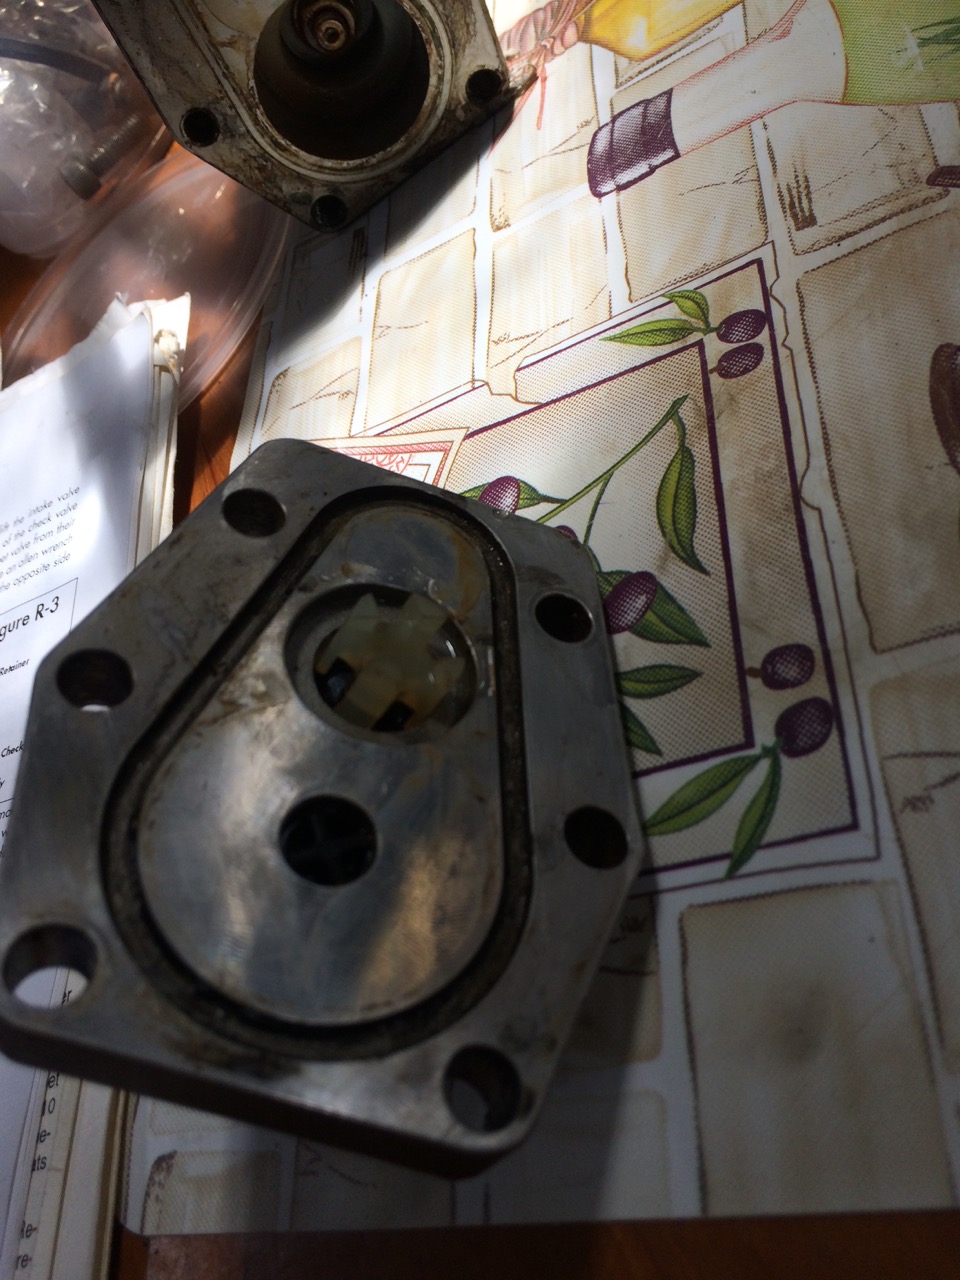
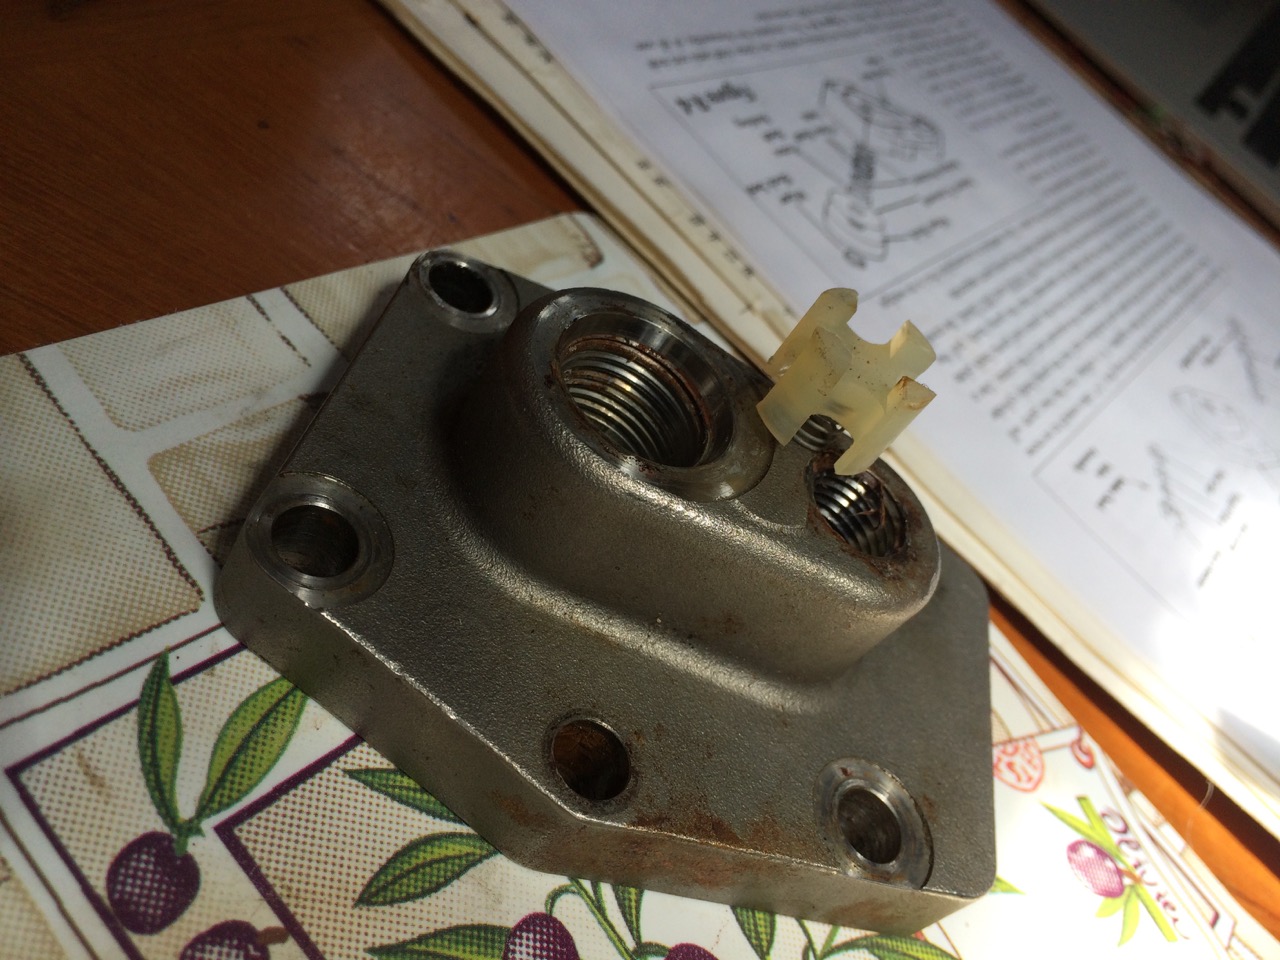
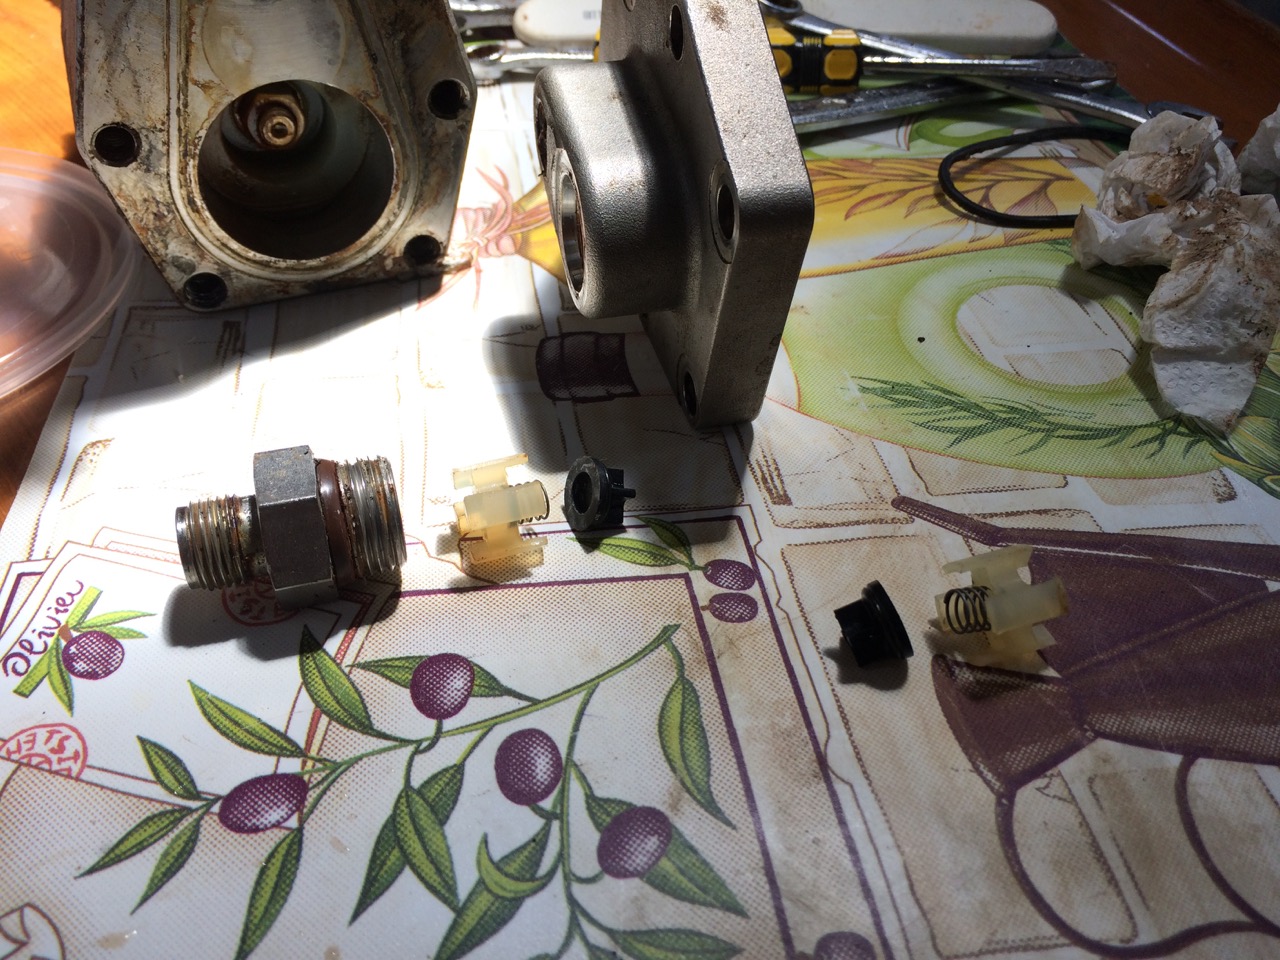
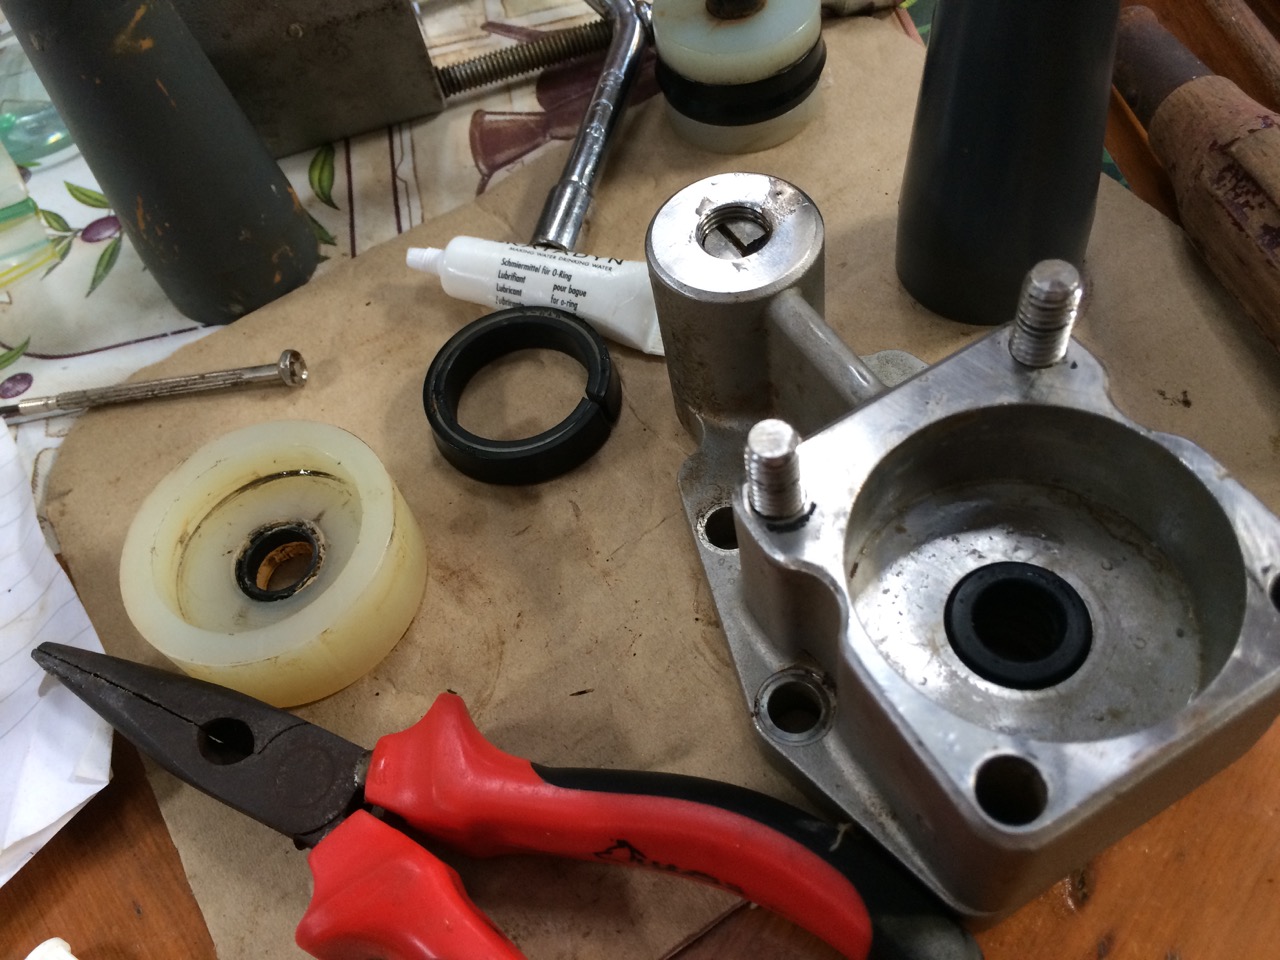 Anyway I rebuilt it and put it back on the motor and connected it to the membrane and a water supply and lo and behold, it worked, but only in the crap way it worked before, i.e. the water evaporated faster than I was making it. However with the knowledge I gained from this adventure, I realised that the piston wasn’t really travelling very far in and out of the pump cylinder. Perhaps the pump was not the problem, but the gearbox driving it. I tried to take this apart, but it wouldn’t let me, but playing with it I realised that it mattered which way the motor ran. In fact if I put the red electricity down the black wire and vica versa, the piston was travelling three times the distance. Now this is a gearbox that takes a rotating shaft as input and generates a pumping action (out/in/out/in…) on a piston rod. It never occurred to me that direction of rotation on the input would matter. However it was clear that it worked much better with the motor polarity reversed. But how could the motor be going backwards, then I remembered I had disassembled it many months ago, when it was seized. Presumably I didnt put it back together properly!. Damm
So I connected it all back up, with the red to ground and the black to 12v and lo and behold it started making fresh water, loads of it. So it looks like the membrane might be ok after all. Today I re-installed it under the bunk, and started the job of replacing all of the bacteria laden hoses that connect to it. Tomorrow I will be able to run it properly for a while and see what the water actually tastes like, after I have tested it with my fancy TDS meter. Hopefully all will go well and I will have saved myself some £4000 on a new watermaker.
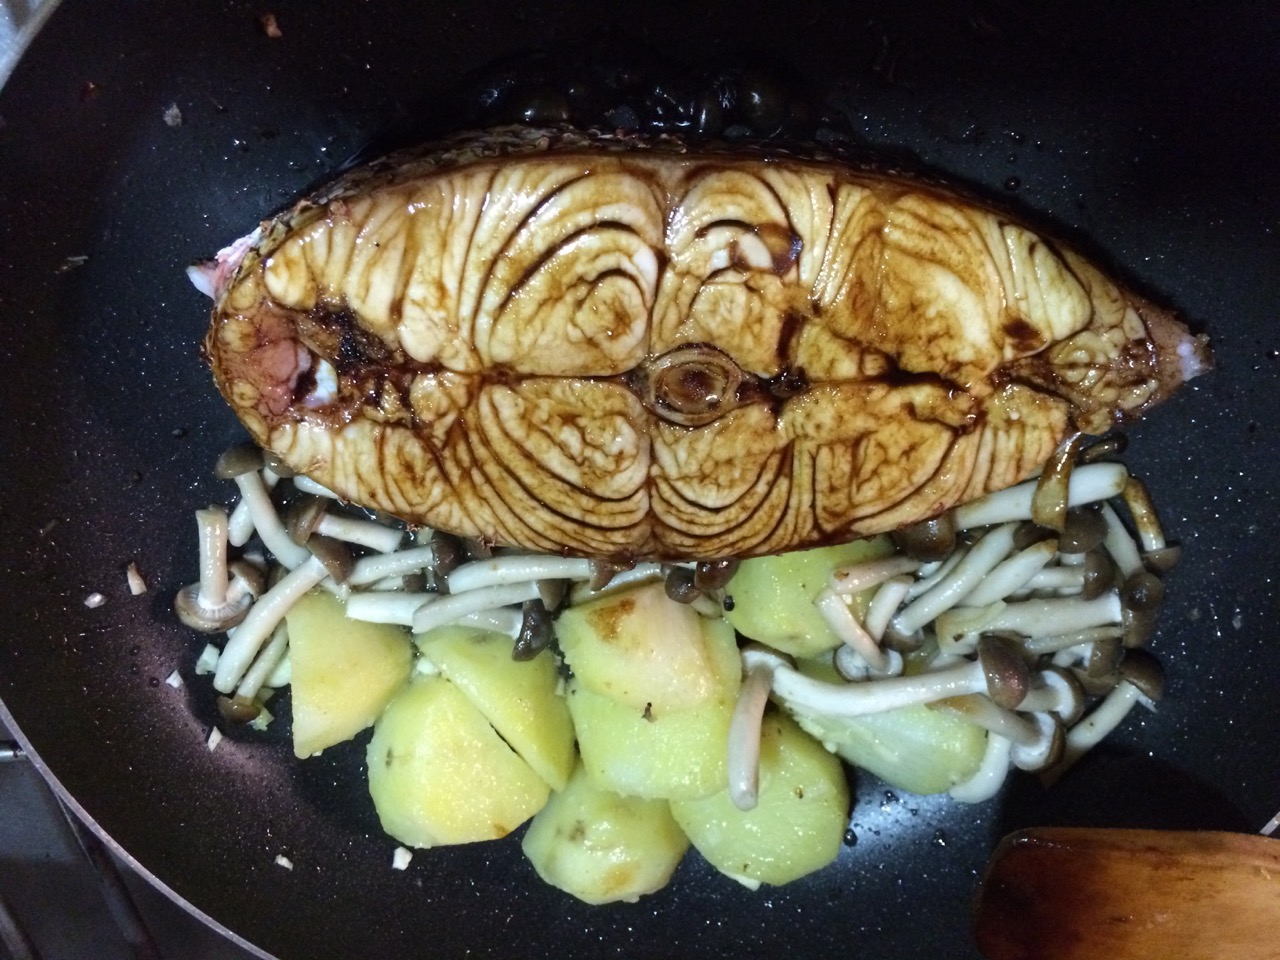
I celebrated tonight with a huge fish steak, that looks well weird, but turned out to be one of the tastiest fish meals I have had in a long time.
Paul Collister
