
March 2021
As the title says, this is a little technical, and probably worth skipping unless you are interested in Engine Starter motors, solenoids, and stupidity.
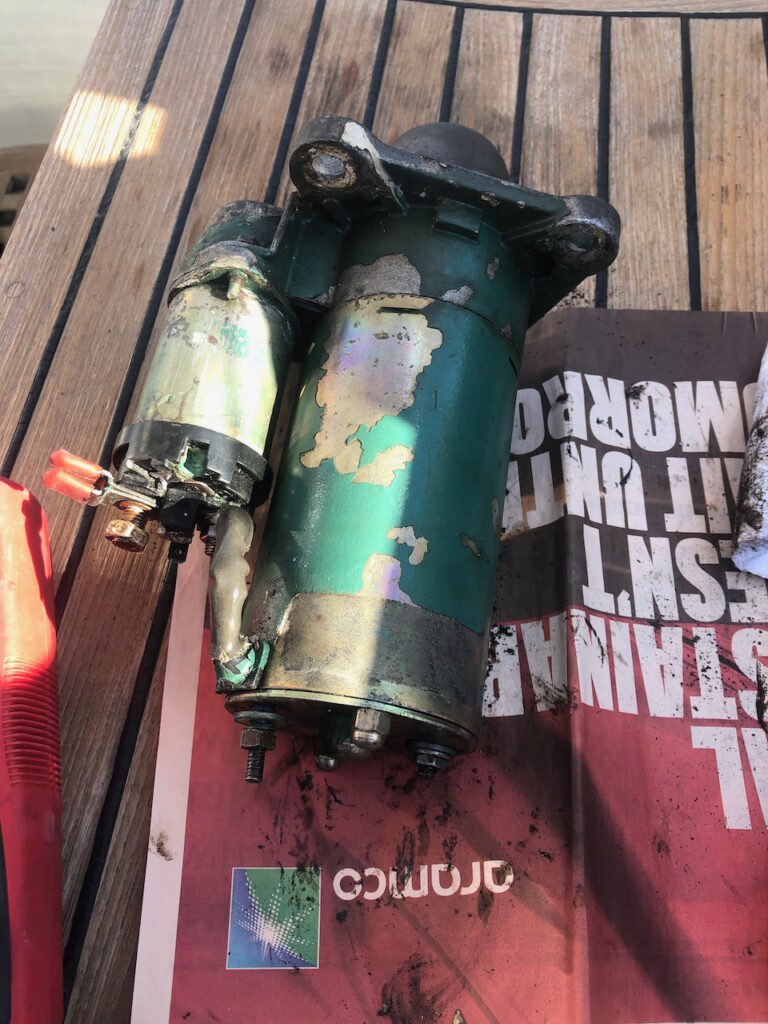
As I mentioned before, the instrument panel in the cockpit wasnt working and I had to start the engine manually with a hot wired jump to activate the solenoid. The solenoid is just a big electro-magnetically operated switch that provides power to the starter motor, which is just a big motor that gets the engine spinning fast enough for it to start exploding fuel in its cylinders. I also have to pull on a coat hanger connected to the high pressure fuel pump to stop the engine, as the electric panel stop option wasn’t working either.
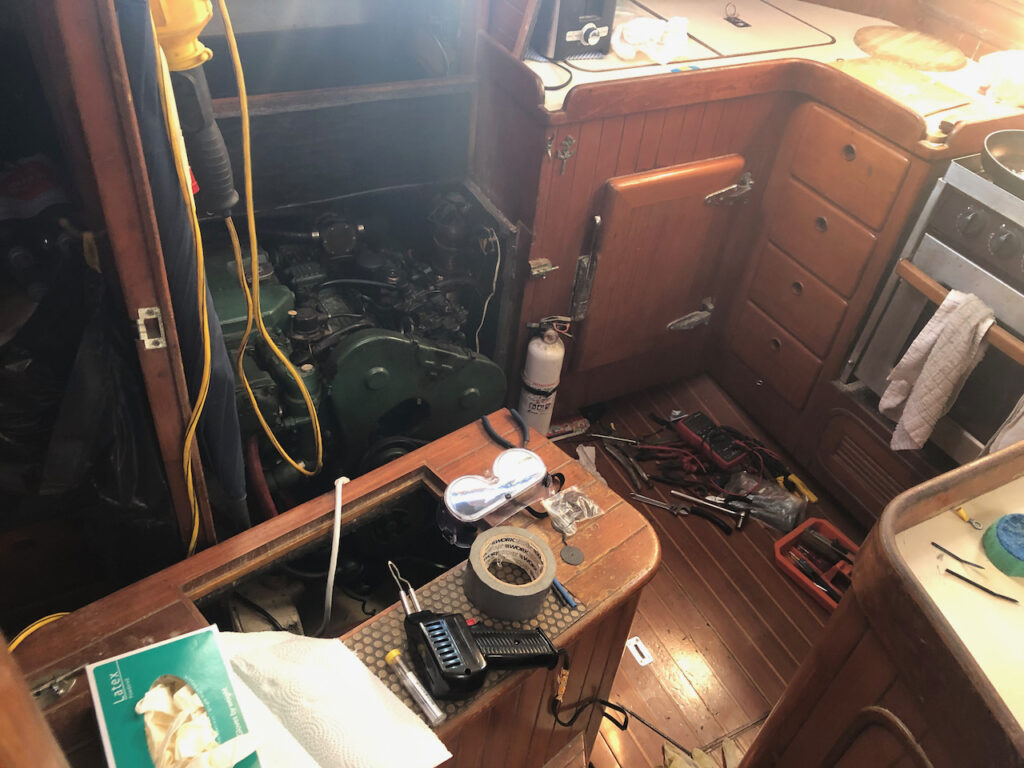
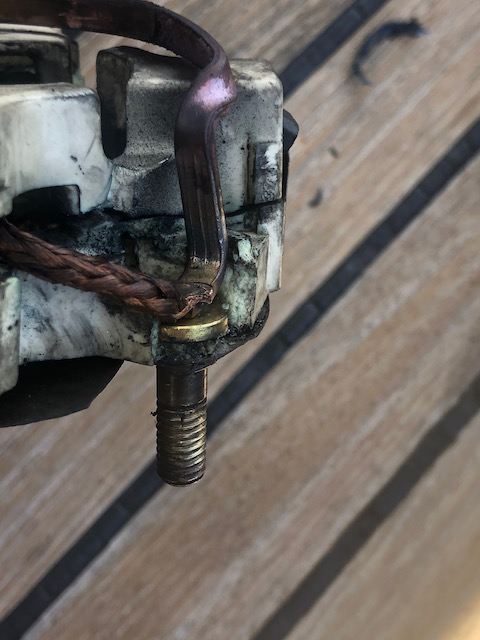
It turns out that the negative or 0v wire from the battery, via the engine electrics box was broken. As I took the lid off the engine electrical box, sparks started flying around me, eventually I worked out it was coming from an earth wire, that was chafing on the solenoid positive terminal, once repaired, the panel lit up, and the engine started and stopped as expected.
I should have stopped at this point and moved onto the failing herb plants, but instead I decided to work out how the earth system worked, the engine block is floating from the battery negative, the alternator, starter motor, and all the sensors, which would normally have there -ve side connected to the block, were 2 wire isolated devices. This prevents stray currents from flowing through the engine. On my Beta engine on Stardust, these stray currents destroyed bronze bolts holding my heat exchanger together because I didn’t know there was a zinc anode inside it that had to be changed. There are no anodes on my volvo engine so I worry that if the earthing isnt working as designed, some part of the engine might be corroding away as I speak.
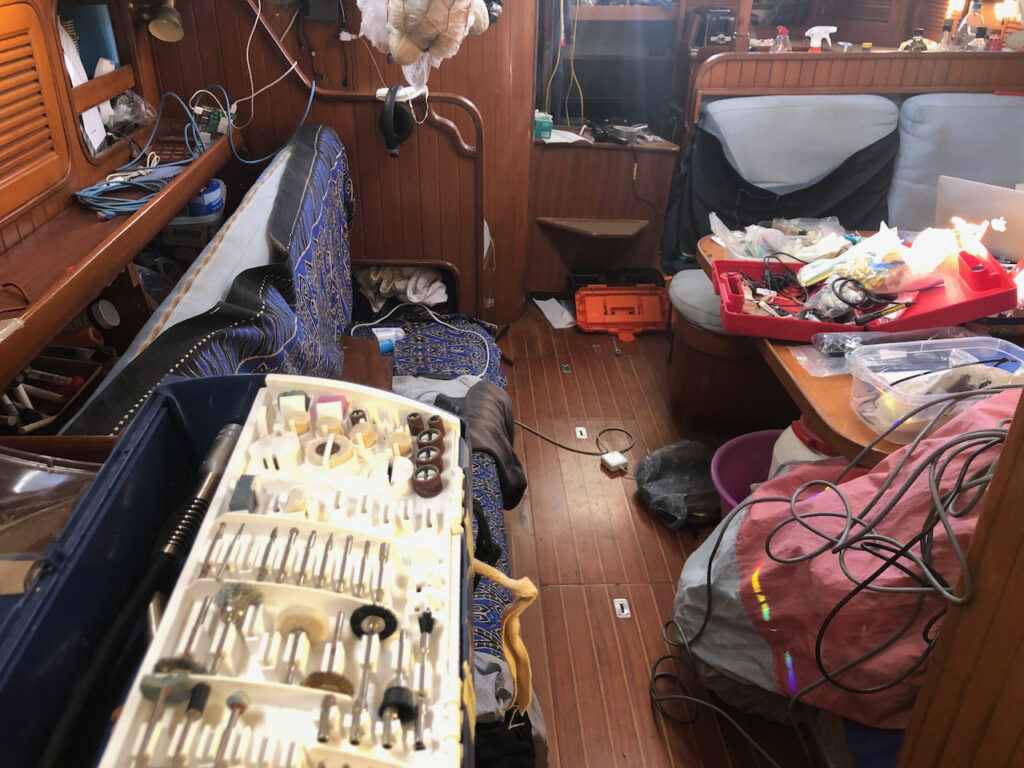
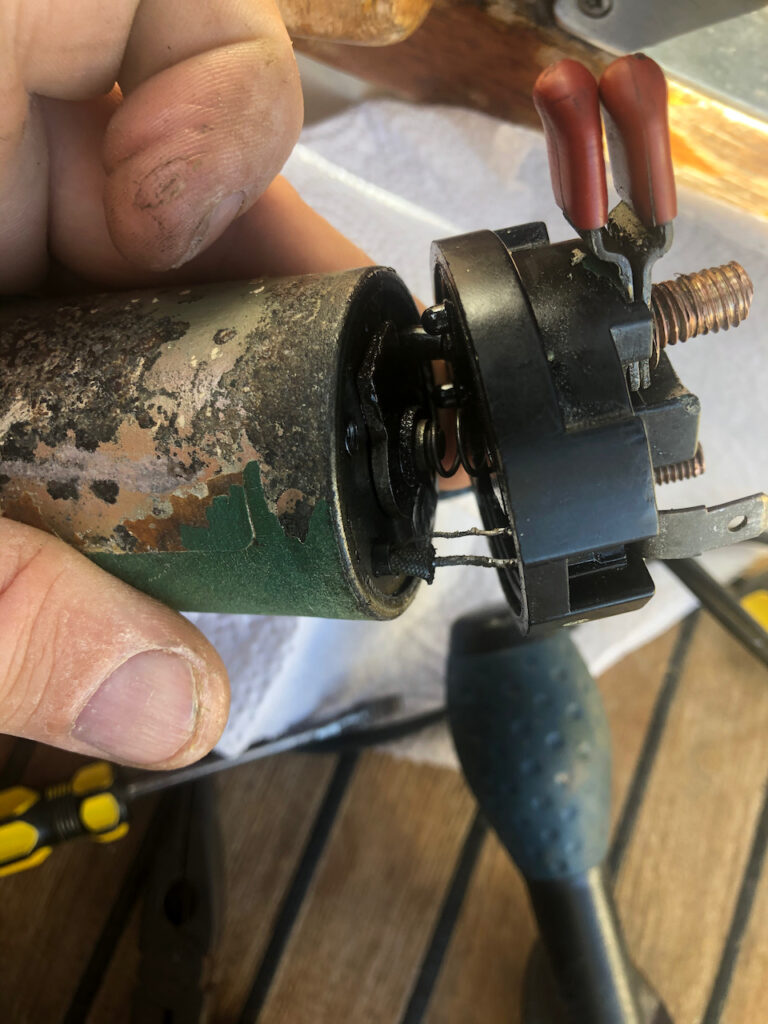
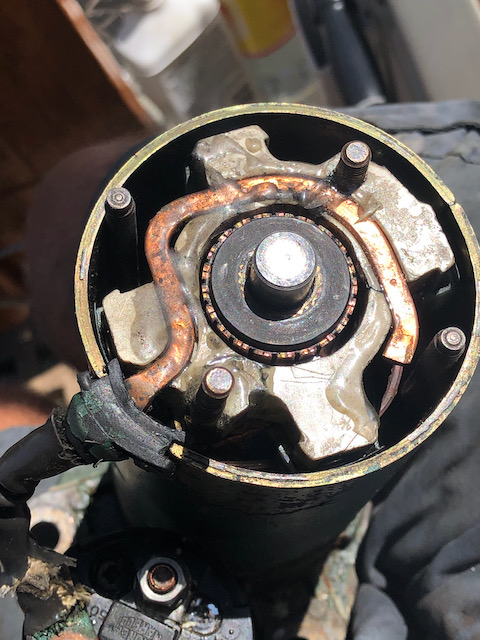
So measuring between the battery negative and the engine gave me a reading of 0 ohms, meaning that the intended plan wasnt working and there was a short somewhere. I set off to find this, disconnecting the starter motor and alternator earths didn’t help, I then removed the throttle cable, but didn’t do the gear shift, as that’s hard to get too. There is a route from the throttle, to the steering and from there to the quadrant which is earthed to the boats external zincs and thru hulls. I found the SSB earth wire stuffed under the engine and saw where it had once been connected, the SSB earth goes to the ATU earth, and thru the coax to the SSB case, which is connected to the -ve 12v supply from the battery, so that sets up a route for current to flow, especially when transmitting. I gave up, put it all back together, started the engine to check I had done it properly and nothing. De Nada. The solenoid was clicking, but not providing any power to the starter motor. The multimeter proved the solenoid had given up the ghost, I had wondered why the post that the power goes on was a bit loose, and I had remade the connections to it. I must have caused something inside to move. As I don’t know anything about solenoids, this seemed like a good time to learn. I managed to pull it off the starter and dismantled it in the cockpit. By this time the boat had become a bit of a mess.
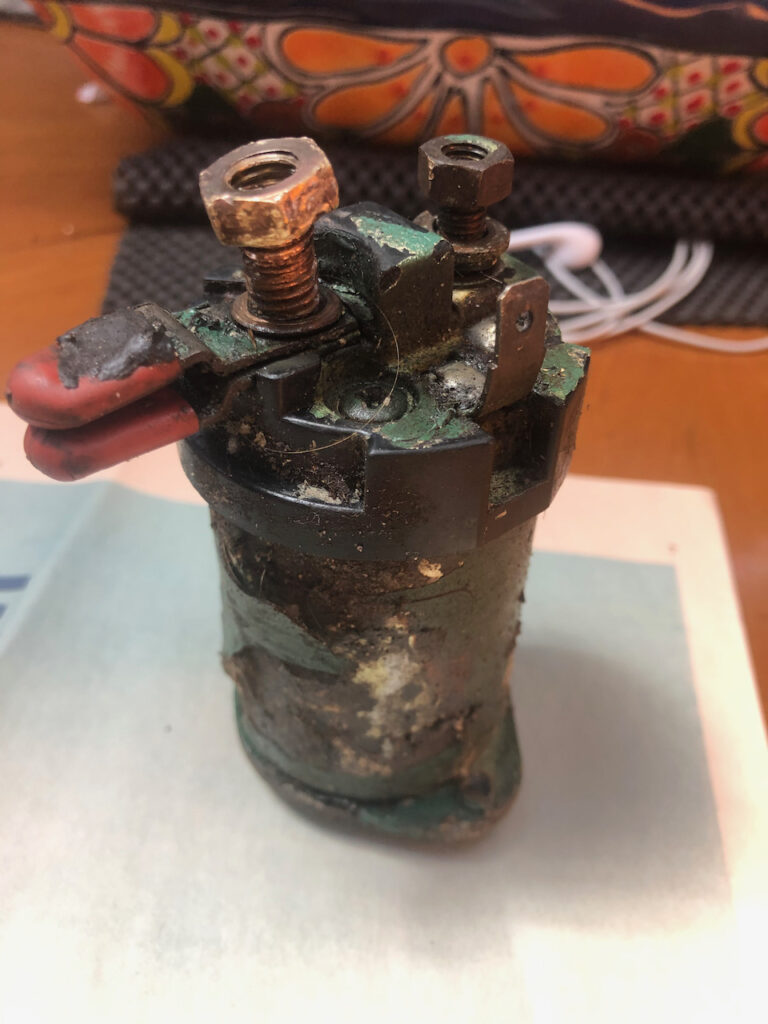
The contacts on the solenoid were touching, but not passing any electricity. Looking at them, I could see they were covered in a black crud. once cleaned they conducted just fine and I reassembled the unit and attached it to the starter.
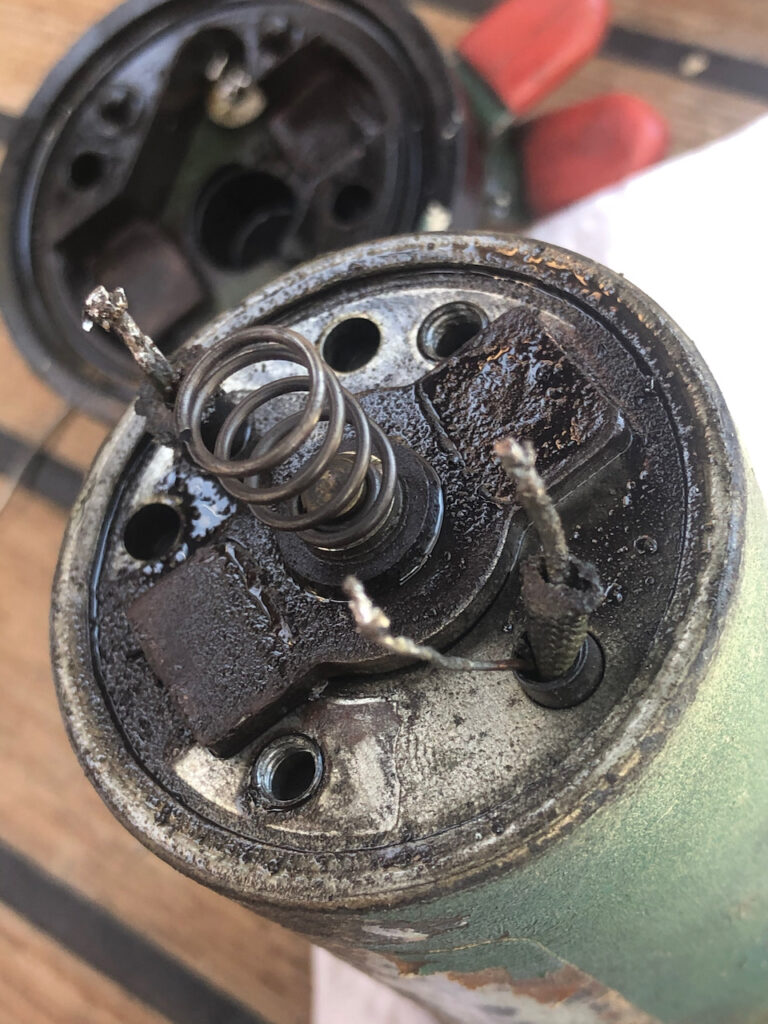
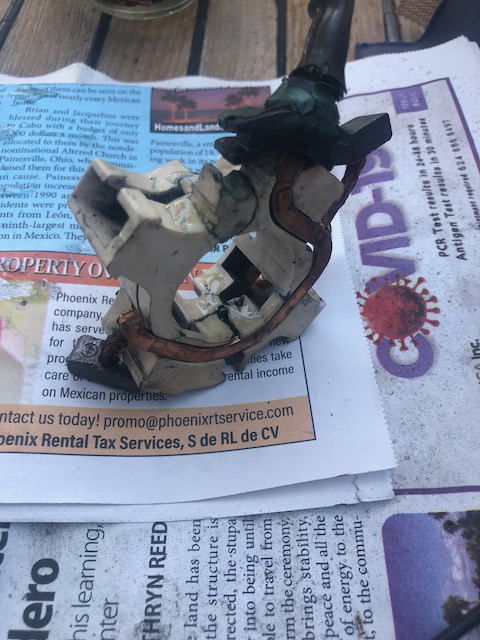
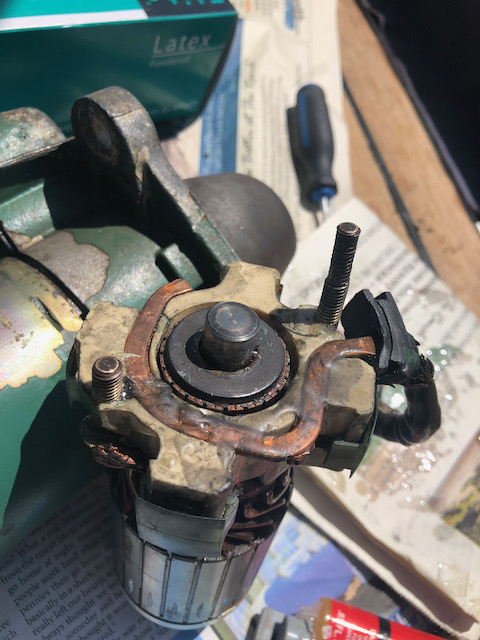
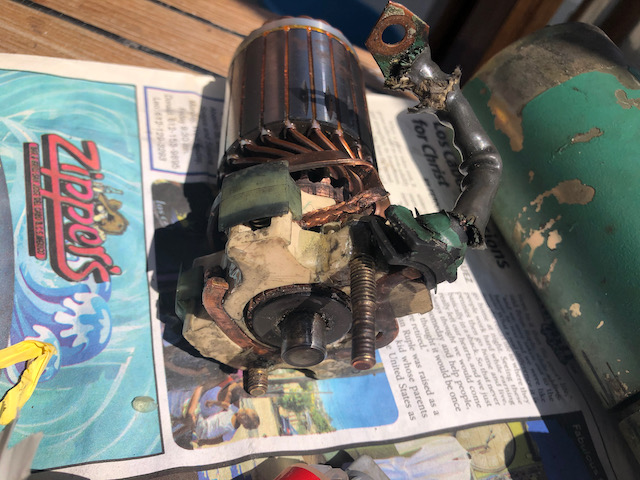
Thinking this was the end, I started the engine, or tried, all I got was a sad groaning from the motor and a lot of smoke coming from the starter motor. I assumed I had not fitted the solenoid properly, so out it came with the starter this time and I took the end of the starter off, refitted the solenoid, connected properly, refitted the lot to the engine, reconnected the big fat 12v cables and started it. The engine started with a whiff of smoke from the starter. I tried to think of a way to make the little whiff of smoke ok, it was way smaller than the last bit of smoke, and the engine did start. I tried again, no smoke, and the engine started, job done I thought, but really I knew I had to come up with an explanation for the smoke. I tried the engine again, and this time the starter groaned, did a quarter of a turn, then looked like it was going to burst into flames, smoke poured out and didn’t look like it would stop, despite me pulling the power pronto. Bummer, starter motors are hard to get for this engine, and cost £300-£400. I hoped it could be repaired, I dug it out and started to take it apart on a sheet of newspaper in the cockpit.
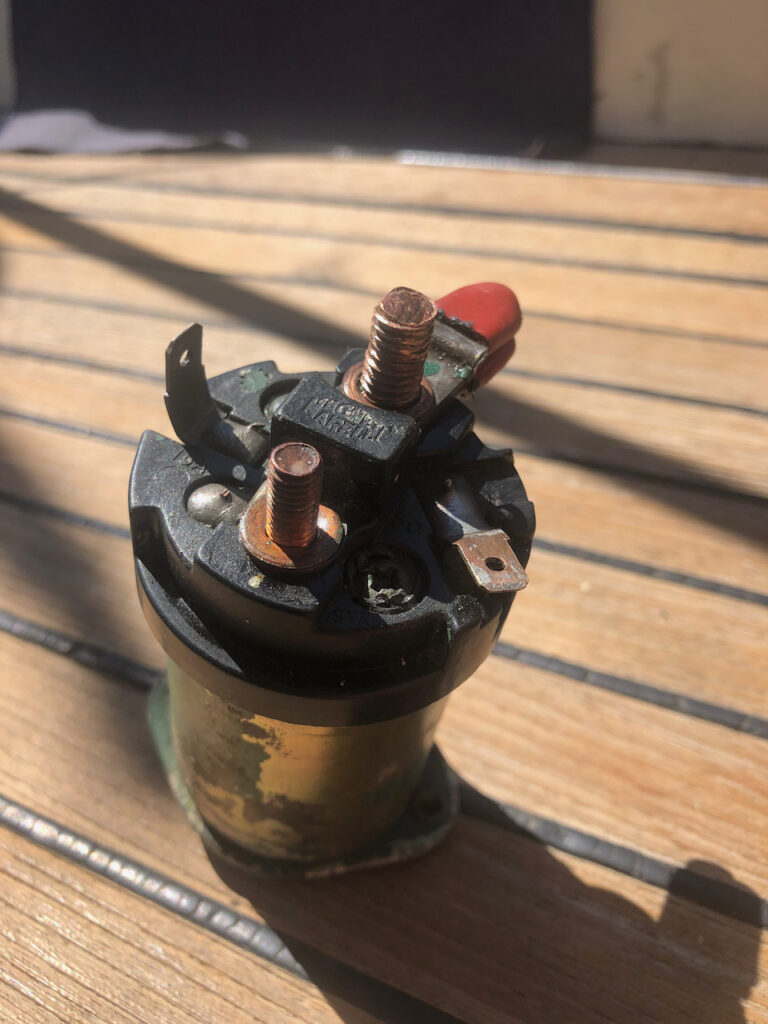
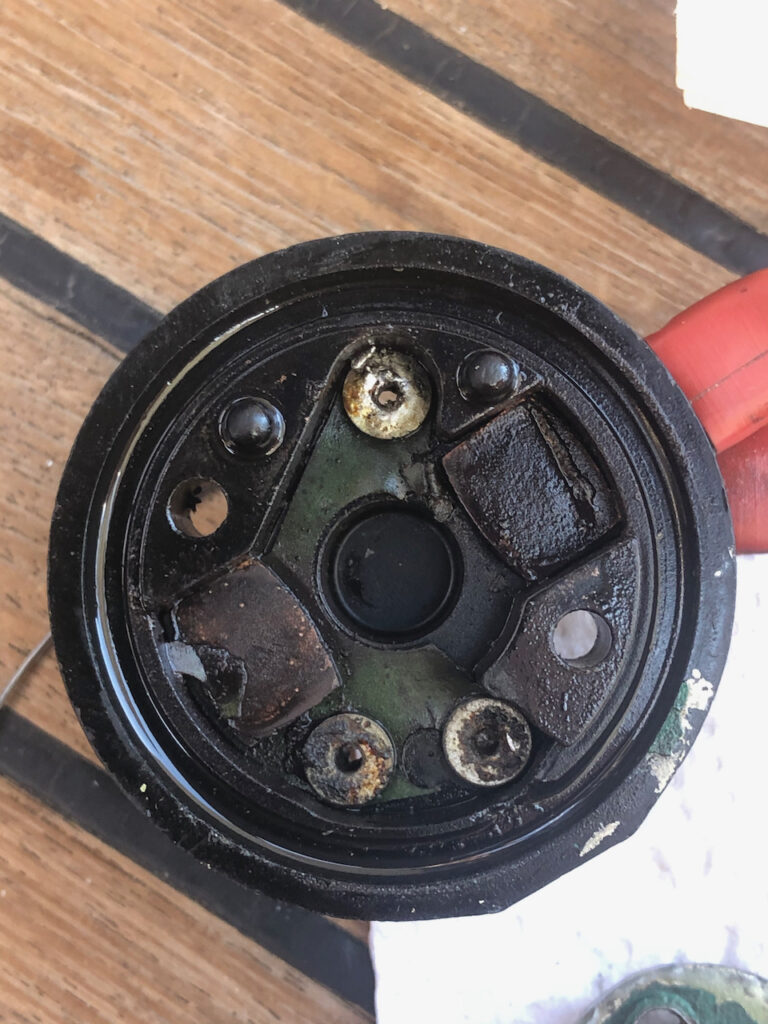
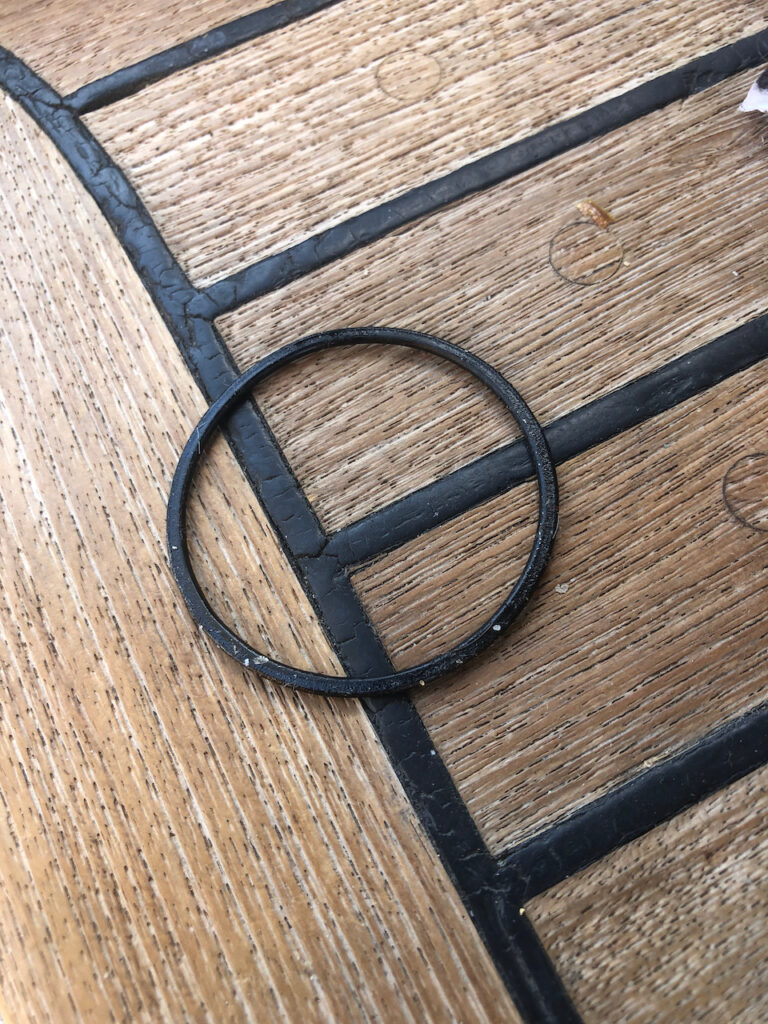
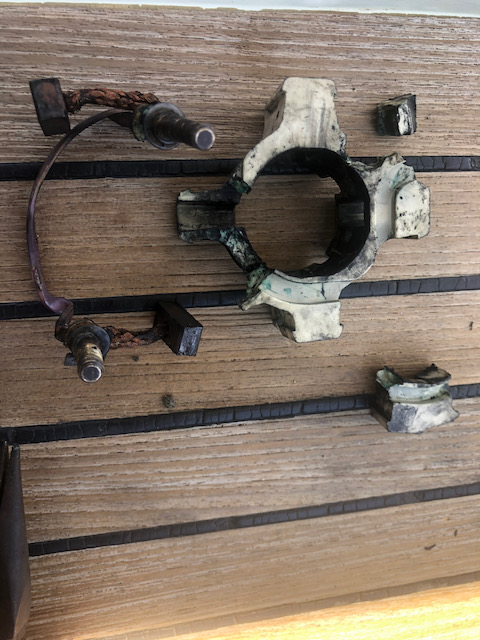
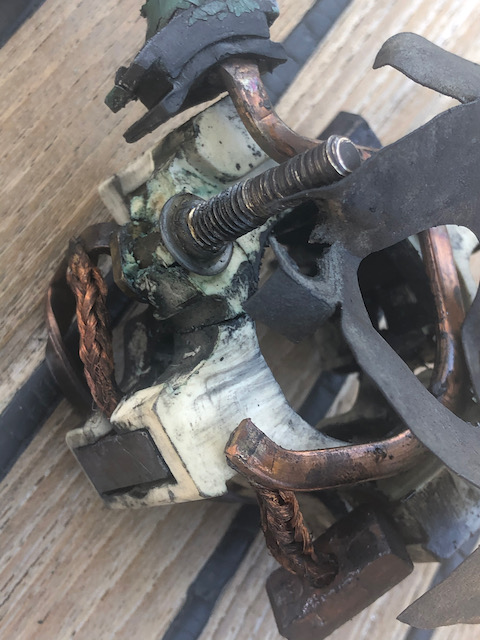
The problem was obvious, somehow I had tightened the nuts on the +12v and 0V terminals so tightly, they had crushed the plastic brush holder inside, this was old and brittle, and as I took it out to examine, it crumbled more in my hand. The brushes had been touching each other and presenting themselves sideways on to the armature. Normally fixing this would be out of the question, but given my predicament, what’s to lose, and I like a challenge.
I figured I could glue it all back together, my childhood expertise with airfix WW2 fighter jets could come in handy, however I had memories of once gluing the wings of a spitfire on backwards, also detail wasn’t my thing, those little tins of paint never got opened, and the transfers often ended up on the scalextric cars.
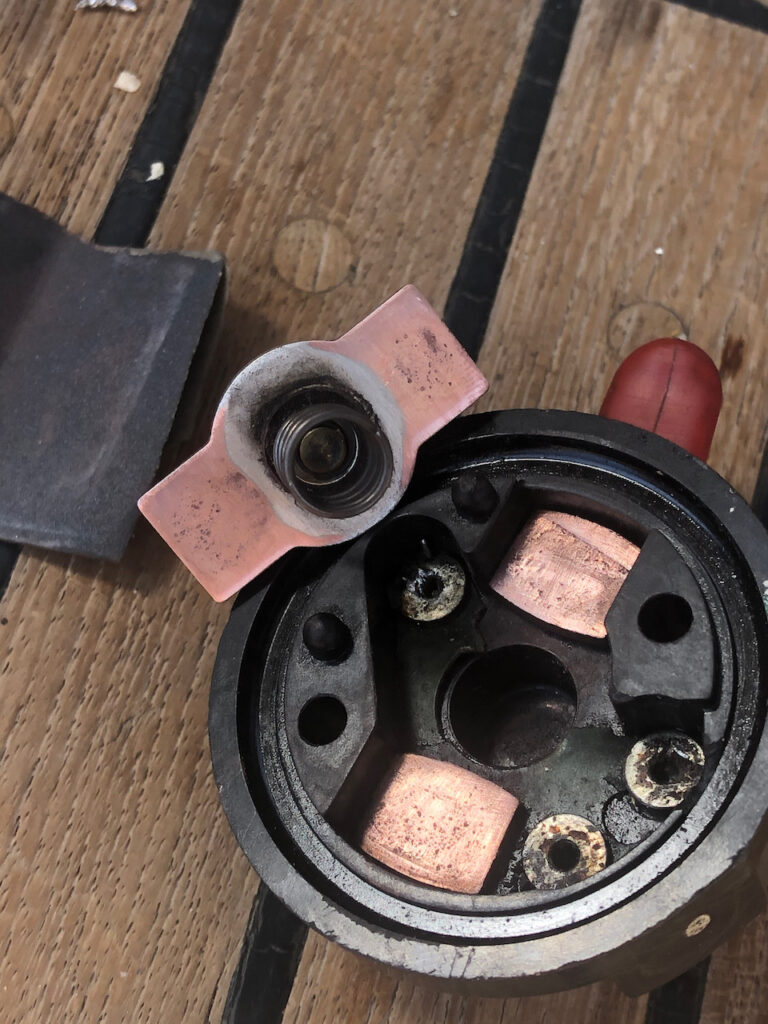
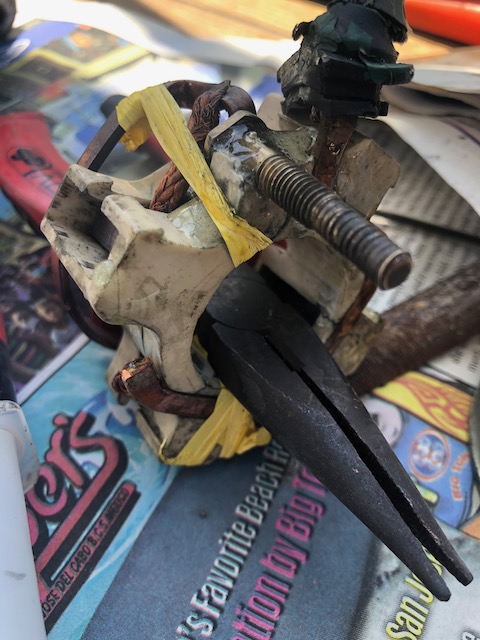
The first problem was getting the surfaces clean, but just gently rubbing a wire brush over them caused more cracks and lumps to fall off. I devised a strategy, just get some glue on to hold it all together, a bit like tack welds, so i can clean the surfaces better, then more glue, then a final coat over large areas to give it strength, this took 3 rounds over three days, in the end it seemed great and quite strong, the only problem was I had glued one half of a brush socket to the other out of line, so the brush wouldn’t slide through freely. I had to build it up with epoxy then file it back until I was close to the right shape. I reassembled it all but didn’t fit it to the engine.
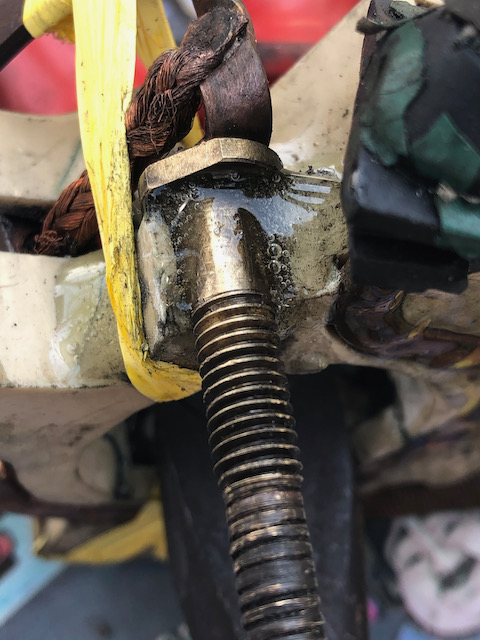
Then I left it another day, just to give the epoxy a good 48 hours for a final set. This was the hardest part.
I then connected some wires to the battery supply and touched them onto the lugs to see what happened. as you can see in the video below.
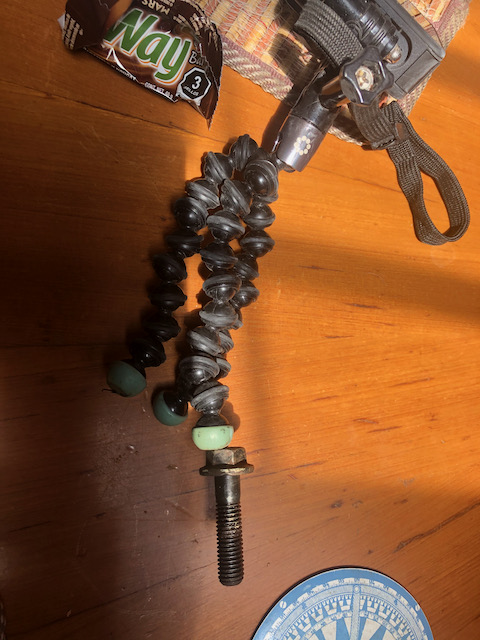
When I came to bolt it to the engine, one of the three bolts was missing, this was crazy, I would have heard it fall from the top of the fridge, could it have gone into the bilge to be lost forever, I doubted I had a spare. I’m always thinking my efforts can all be ruined by one stupid mistake at any point. I spread my search further, and found the bolt had hitched a ride with my gopro magnetic gorilla grip to the other end of the cabin. Phew.
It worked, I mounted it onto the engine, being very careful with the connecting lugs, and it fired up right away, without any smoke, confirming my earlier suspicion, that there really is no acceptable excuse for smoke coming from electrical equipment, no matter how much it helps out with the logic.
I do need to buy a replacement starter, and this might represent 50% of my hold allowance when I return from the UK in September. Should I get back there in July. I have started the engine some 30 times now and it starts quickly without fuss, I’m hoping we will get a few more months minimum without any trouble.
Paul Collister