
So if you’re not in the business of replacing your Volvo MD22 timing belt, I suggest you skip this blog entry.
I’m writing this for a few reasons, firstly I’m very chuffed with myself to have completed this task, secondly, I wanted to document the steps I took in case I need to do it again, or in the slight hope it will be useful to others.
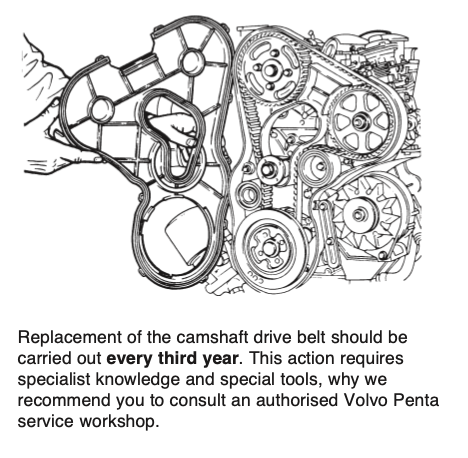
When I first bought Lady Stardust, she was lying in Glasgow, Scotland, and I would make weekly/fortnightly drives from Liverpool to check / work on her before Max and I sailed her back to Liverpool. On one of those long drives north, the timing belt snapped on my vauxhall (GM back then) car. The belt had been due to be replaced, but I had missed the service that it was meant to be done on. The result was that the engine was a right-off, and the car as well. In the end, I did get it repaired at around the same cost as buying a replacement car. Since then I have lived in fear of the thing same happening on this engine. The User Manual from Volvo states:
It was this advice that had me avoiding the job, but given that it was now 5 years since I bought the boat, and much longer since the last time an engineer might have changed the belt, I thought it high time I made an effort.
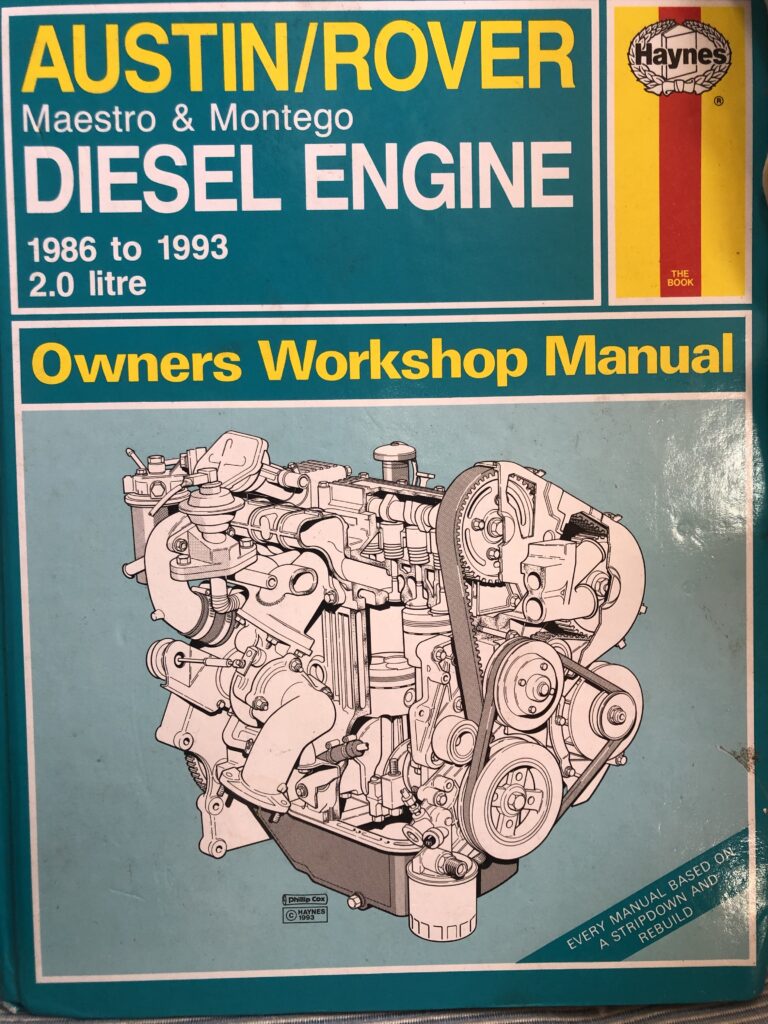
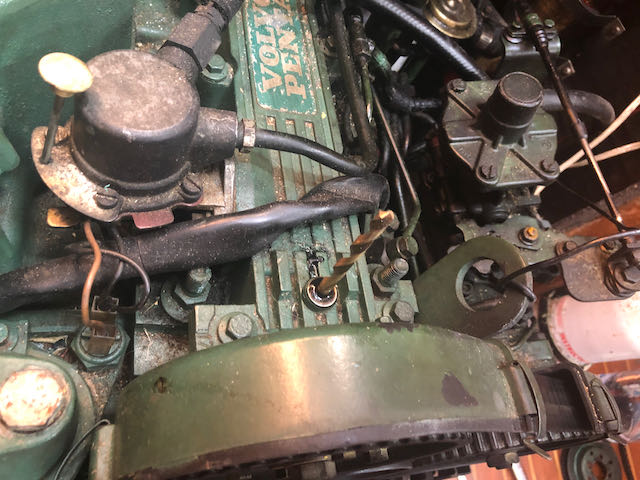
Fortunately I found an entry in the ever helpful yachting and boating forum YBW Forum link on how to do it the easy way. I also found a useful video on YouTube, but this went too deep and missed a few of the important stages out. YouTube linkThe volvo engine is actually a rebranded Perkins, the Perkins engine I think is a block from China that was only made for a brief period, I have read reports that the Perkins engine was considered one of their worst, but I have also read the simplicity of this engine made it the go to engine for off grid reliability, back in its day. It was also used in the Austin/Rover Maestro and Montego vehicles for which I have the Haynes maintenance manual, these cars/vans had their fans, but I’m not sure they were ever really considered high quality.
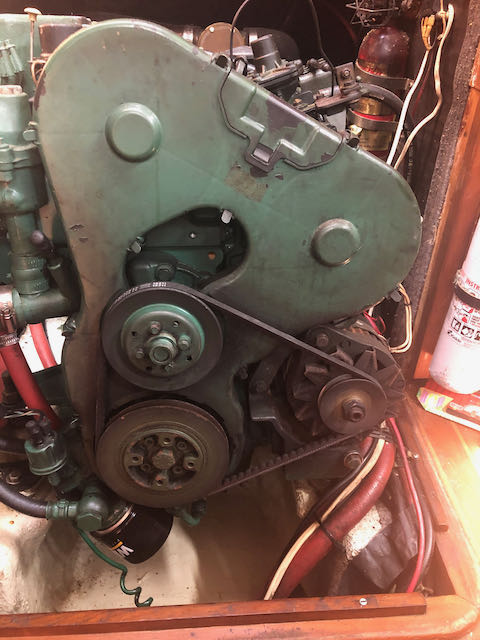
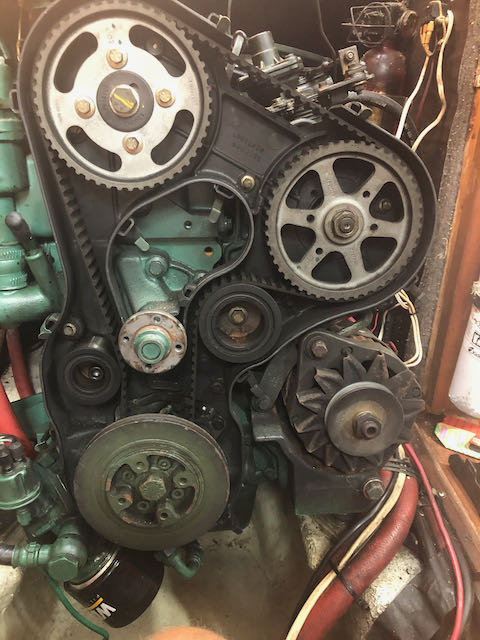
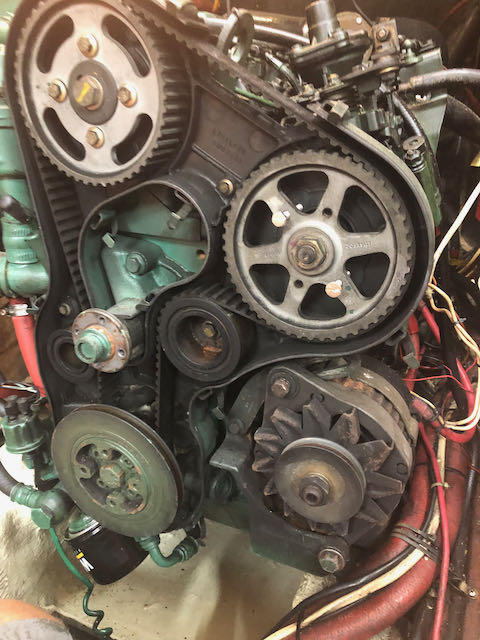
The first job was to remove the cover , this requires the alternator to be loosened and then the belt removed, followed by the pulley on the water pump.
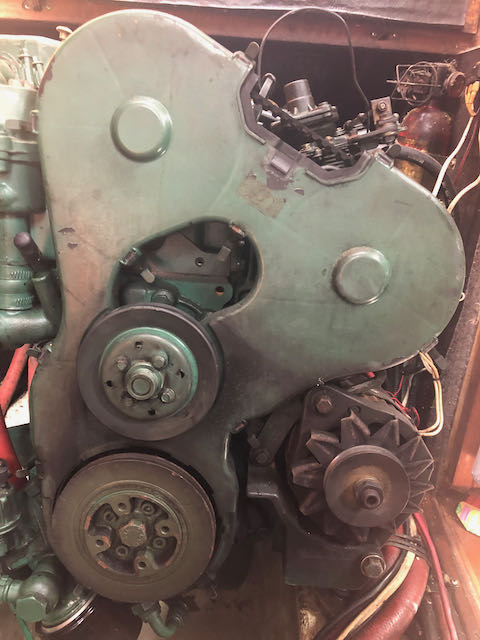
Removing the four nuts that hold the water pump pulley took forever. They were on really tight, and I was worried about breaking anything. Two knuckles gave up their covering to this task.
Once off, the cover came away, revealing the workings. The inside of the cover was quite clean, indicating no other problems.
Now the big deal here is that the timing belt obviously controls the timing of everything, so the valves (Camshaft) open and close in time with the pistons (Crankshaft) and the fuel injectors (Fuel Pump). When the belt snaps, the pistons can smash into the valves and can do massive damage to the valves, pistons, con rods, and other bits I don’t really know about, but it’s a bad deal.
So it’s important that when I take the belt off it goes back with all the pulley/cogs/shafts in exactly the right place. To aid in this the engine designer added a load of holes to help lock things in lace. This is what you need the specialist tools referred to above is all about. Drifts, which is another name for a tube/pipe or cylindrical bar, are inserted in various places, but Haynes suggest using the blunt end of a 6mm drill bit for this job.
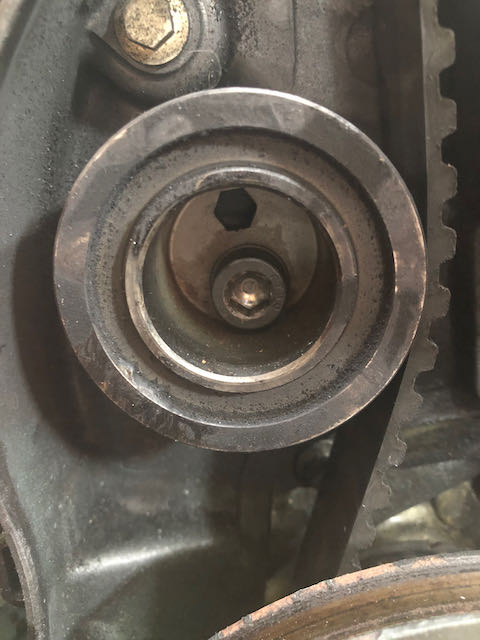
The first one in goes into the crankshaft from above, you crank the engine around with a big spanner until the drill drops into the hole. This is at a point called Top Dead Centre (TDC) I think.
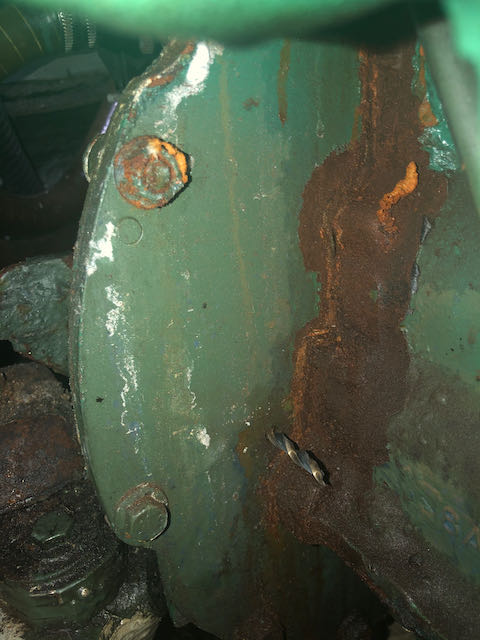
Next the crankshaft is locked in place with a similar drift into the flywheel. This part of the engine cannot be accessed easily, but I can see I need to clean it up, I think the water spill from the sea water pump last year has done some damage.
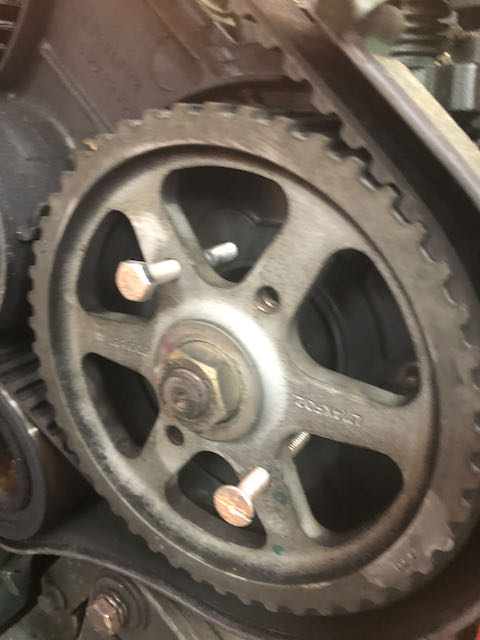
Finally two M6 screws go through holes in the injector fuel pump cog and into the engine block that locks it in place.
Once everything is locked off, the idler pulley and the tensioner pulley are removed and the belt slides out.
What is a little annoying is that the belt shows no sign of wear at all.
I replace it anyway, and ponder on the fact that the arrow on the belt is pointing the wrong way. I don’t understand how a belt can have a direction, it must be a subtle engineering thing, but I’m sure the original was on back to front. I put the new one on, but realise I cant get it to fit on the cogs properly. What’s more my logical mind is convinced there’s no way it’s going to go back on.
At this point I’m wondering why I didn’t do this at the dock, there’s a small gale due at the weekend, If my anchor drags, I will need the engine. I re read the manuals and find I missed a bit, partly because its in a section that refers to some screws that just don’t exist. Later I compare pictures and realise my engine is a little different from the manual. Anyway I have to remove the idler wheel, once I do this everything falls into place and the belt goes back on. I don’t have a meter to tension the belt to factory specs, but instead use the formula everyone else recomends that it should twist no more than 90 degrees at the longest part. It feels just right twisting at around 60 degrees, which is what the old belt was like. It doesn’t need to be over tight as it’s not a drive belt, like the generator.
Once it’s back together I remove the drifts and fire it up. Amazingly it works.
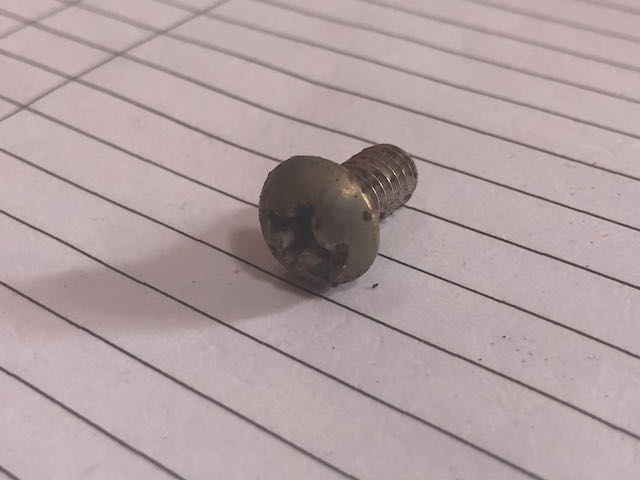
I clear up my mess, and in true Paul Collister style I find a screw left over. It’s been this way since I was 5, but I’m sure it must have fallen out of the toolbox and isn’t relevant.
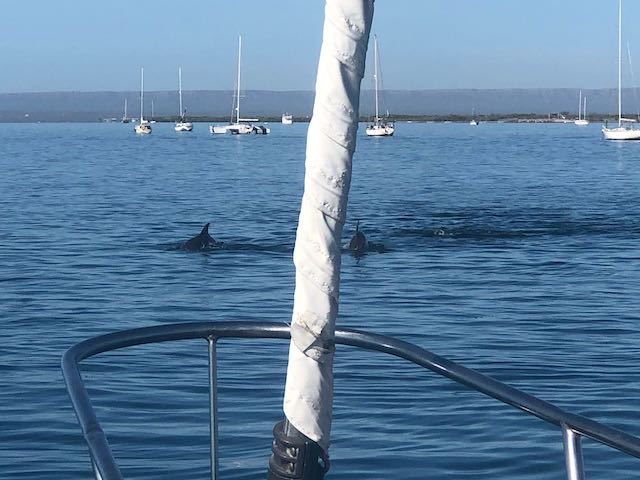
I retire to the cockpit to have a soda watch the dolphins swim by.
Paul Collister.
PS As I write this, the gales is going well, and the anchor chain just wrapped around the keel, making the boat point the wrong way and heel a lot. I started the engine, and backed away from the chain, and the boat swung back into the wind. I’m so glad it works. The problem is the wind is 25+ knots from the north, yet a strong ebb is making the boat point south, so we are fighting both.
wow! well done. I cant believe you undertook such a challenging task at anchor!
Good for you Paul. I thought that was better left to a pro.
keep me posted on your intents
Dad & Granddad would have had at least a dozen screws left over!!
Rob
I think I have their tinkering genes, but with the advantage of YouTube tutorials.